Pocket tiles

Information

What they are
Our tiles look their best in daylight. Pocket tiles let them shine at night, too.
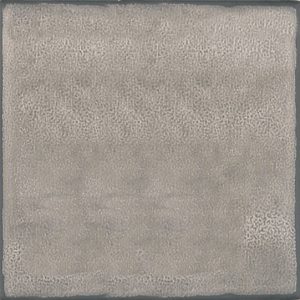
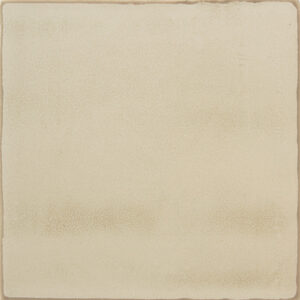
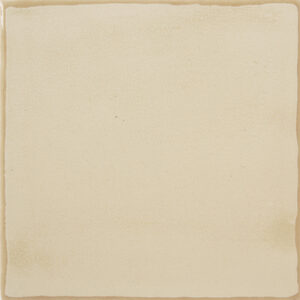
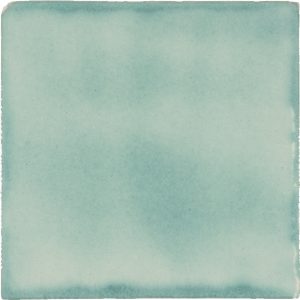
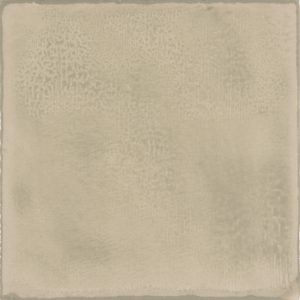
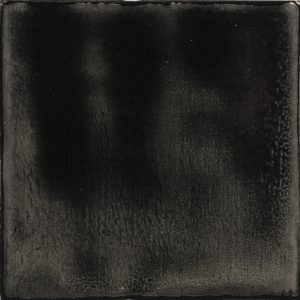
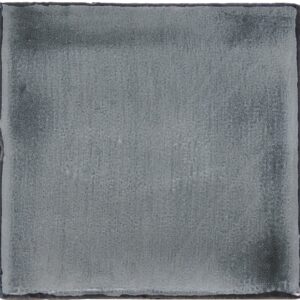
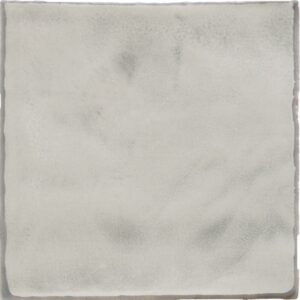
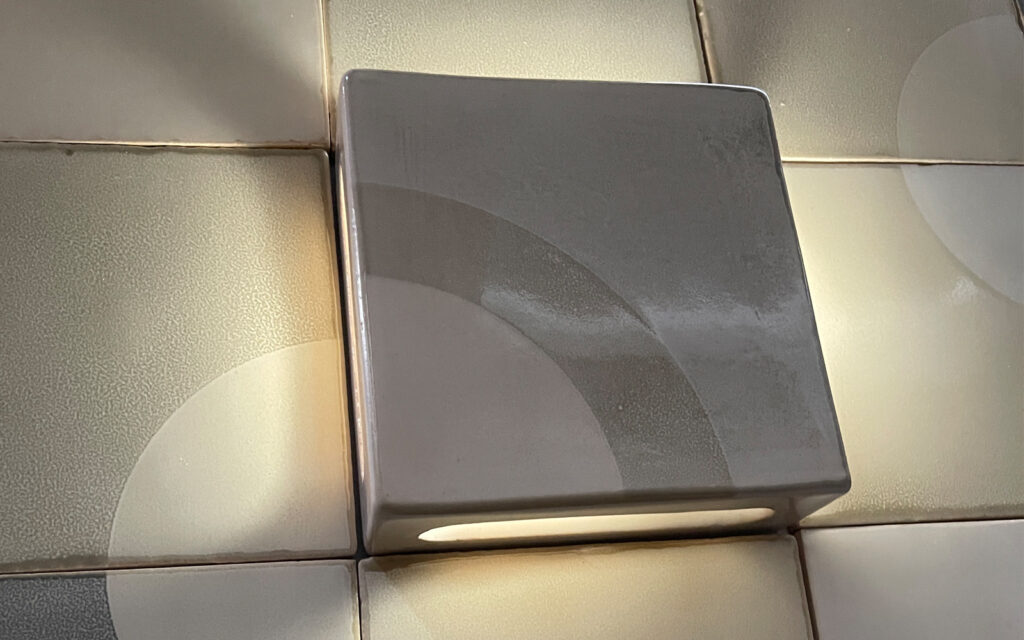
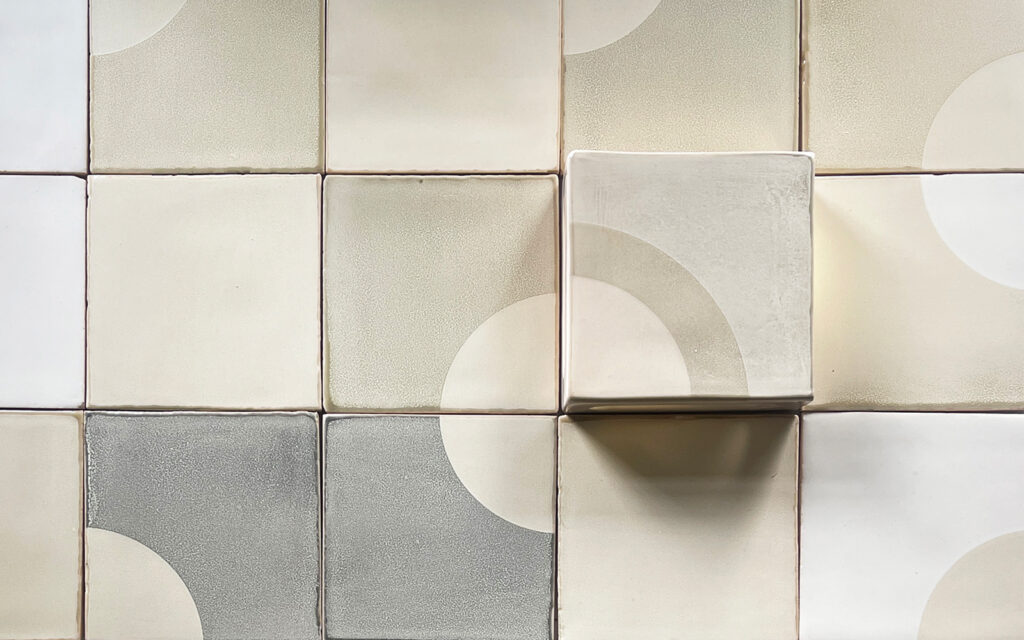
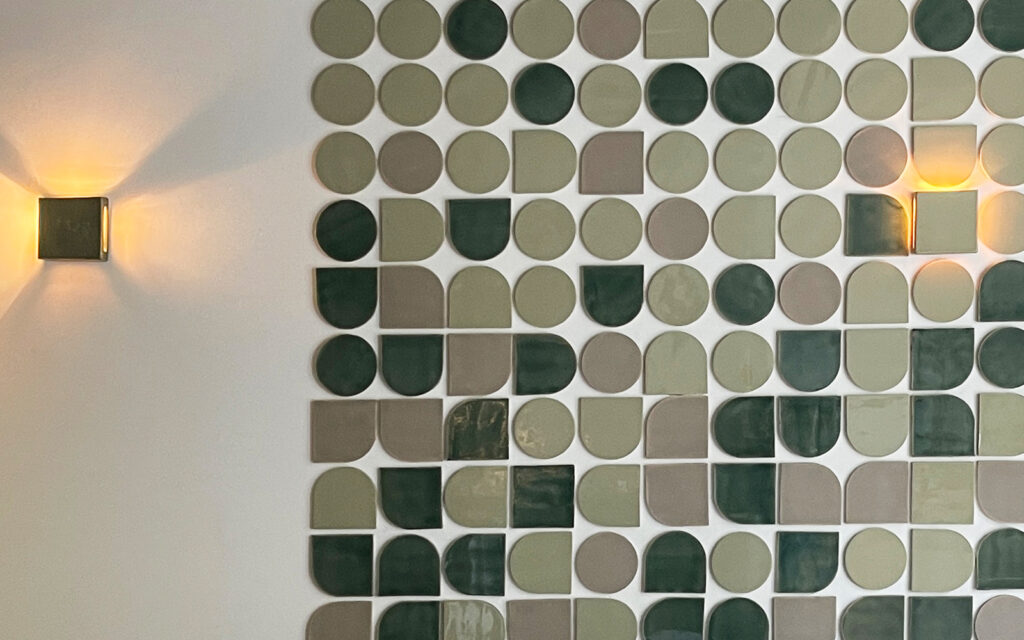
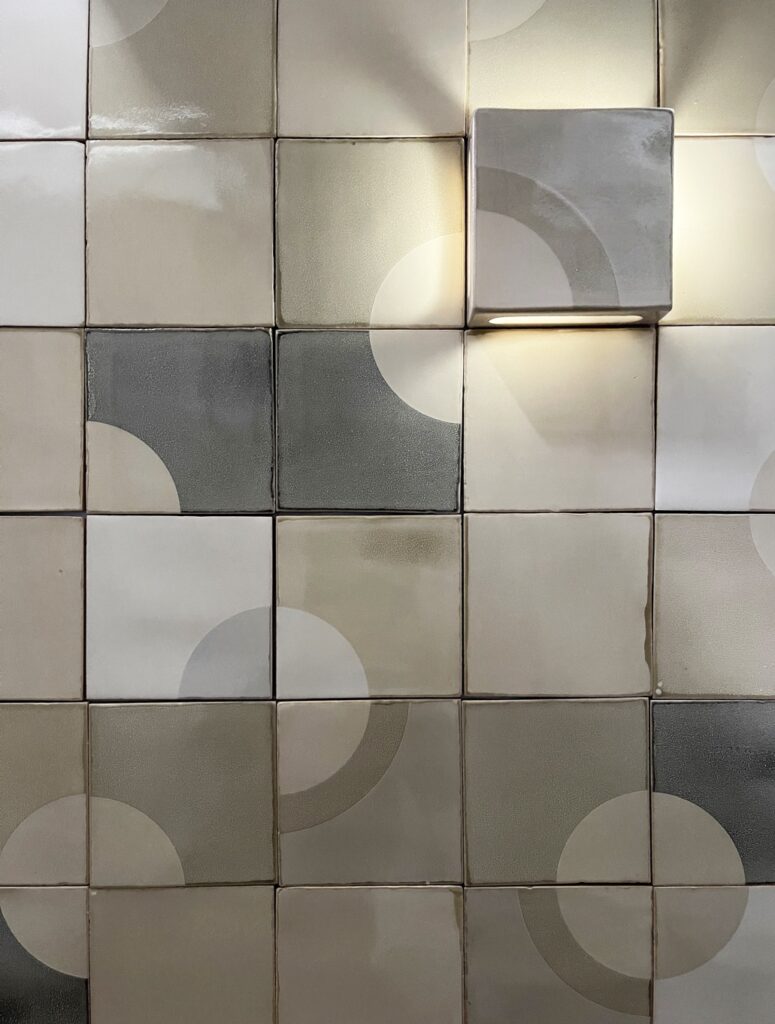
A pocket tile is a shallow ceramic box, 14 cm square and 5 cm deep, that fits over a small wall light. Its front is screen-printed by hand to match the tiles around it, so by day it reads as part of the pattern. In the evening, light spills from its open top and through slots in its sides and bottom, casting soft halos across the wall.

Why designers use them
– Lighting becomes part of the wall: no visible fixture, and no trade-off between the tile layout and where the lights go.
– The pattern carries on: the screen print runs unbroken across flat and pocket tiles.
– Depth and shadow: each pocket stands 5 cm proud of the wall, adding relief by day and glow by night.
– Light where you want it: pocket tiles can go anywhere in the tile field.
– Fewer materials: the ceramic itself is the lampshade, with no metal or glass fixtures.
– Bespoke at scale: repeatable custom lighting for hotels, restaurants and large homes, without the cost of bespoke fixtures.

Size
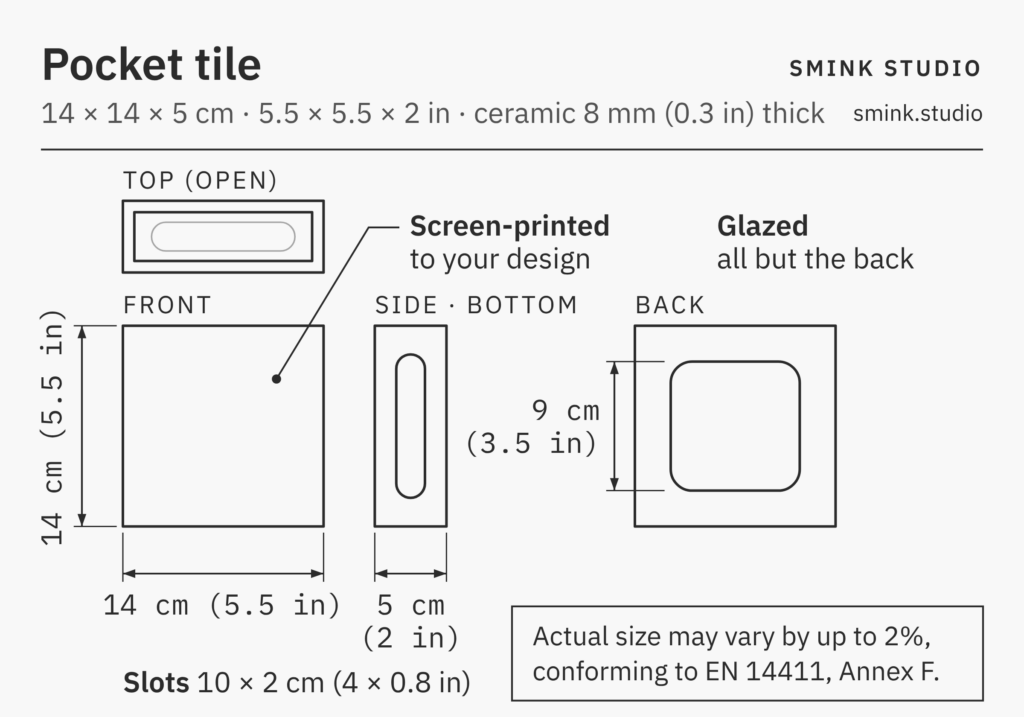
Measurements: 14 × 14 cm / 5.5 × 5.5 inches; 5 cm / 2 inches deep. As with all handmade tiles, length and width can vary by up to 2%.
Ceramic: 8 mm / 0.3 inch thick.
Openings: open top; a 10 × 2 cm / 4 × 0.8 inch slot in each side and in the bottom; a 9 × 9 cm / 3.5 × 3.5 inch opening in the back, which fits over the light fitting.

Glaze and colours
Glazed on the front, sides and inside; the back is left unglazed so the adhesive bonds.
Base glaze: white or cream, as for our screen-printed tiles.
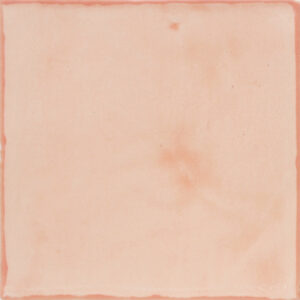
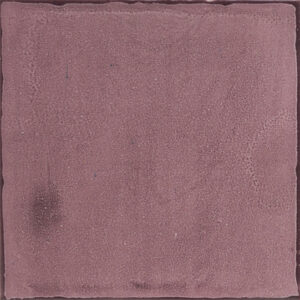
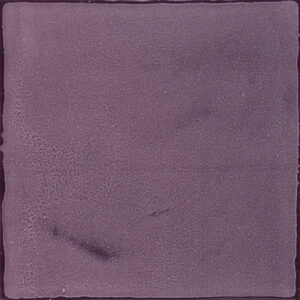
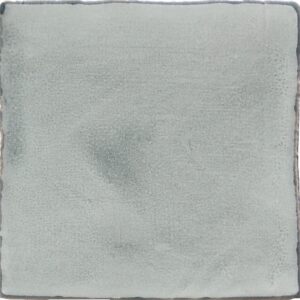
Screen-printed by hand in any of our 30-plus colours, which merge with the glaze during firing.

Bulbs and fittings
Fits over a wall light fitting with a small screw-base bulb, about 5 cm / 2 inches long and less than 3.75 cm / 1.5 inches in diameter.
Suitable bulbs include T25, E14 pygmy and E12/T8 tubular bulbs. Choose LED versions: they run cool and use little power.
The light fitting is not included; your electrician can supply one for a few euros or dollars.

Installation
We mark the position of each pocket tile in your custom layout. A qualified electrician installs a light fitting at each position. The pocket tile is fixed over the fitting with tile adhesive and grouted to the tiles around it.

Ordering
Pocket tiles are available as an addition to an order of Smink Studio handmade tiles. Like all our tiles, they are made to order.

Pocket tiles suit feature walls in homes, hotels, restaurants and bars. We first designed them for our tile wall at Personal Structures, an exhibition held alongside the 2026 Venice Biennale. To begin, just tell us what inspires you and we’ll design a layout for you by hand.
Available designs


Diagram of Smink Studio screen-printed tile L01: fine grey concentric arcs on a white tile.
L01
Diagram of Smink Studio screen-printed tile L04: broad grey concentric arcs on a white tile.
L04
Diagram of Smink Studio screen-printed tile L11: fine white concentric arcs on a grey tile.
L11
Diagram of Smink Studio screen-printed tile L14: broad white concentric arcs on a grey tile.
L14
Diagram of Smink Studio screen-printed tile L21: fine grey concentric arcs on a light-grey tile.
L21
Diagram of Smink Studio screen-printed tile L24: broad grey concentric arcs on a light-grey tile.
L24
Diagram of Smink Studio screen-printed tile L05: a three-by-three grid of grey rounded squares on white.
L05
Diagram of Smink Studio screen-printed tile L08: one grey rounded rectangle at the top edge of a white tile.
L08
Diagram of Smink Studio screen-printed tile L09: a column of grey rounded squares on a white tile.
L09
Diagram of Smink Studio screen-printed tile L16: a cluster of white rounded squares on a grey tile.
L16
Diagram of Smink Studio screen-printed tile L18: a single white rounded rectangle at the top edge of a grey tile.
L18
Diagram of Smink Studio screen-printed tile L19: a column of white rounded squares on a grey tile.
L19
Diagram of Smink Studio screen-printed tile SR1: a large grey quarter-circle on a white tile.
SR1
Diagram of Smink Studio screen-printed tile SR2: a striped quarter-ring on a grey tile.
SR2
Diagram of Smink Studio screen-printed tile SR3: a grey tile with a hatched quarter-ring and a small white square in one corner.
SR3
Diagram of Smink Studio screen-printed tile SR4: a grey tile with a hatched quarter-ring and a small light-grey square in one corner.
SR4
Diagram of Smink Studio screen-printed tile SR5: a white tile with a light-grey quarter-circle and a hatched square in the corner.
SR5
Diagram of Smink Studio screen-printed tile SR6: a light-grey tile with a hatched quarter-circle.
SR6
Diagram of a plain Smink Studio handmade tile in a single solid glaze colour.
SOLID
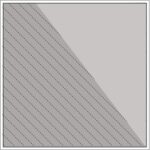
Diagram of Smink Studio screen-printed tile R1: a tile split diagonally into white and grey triangles.
R1
Diagram of Smink Studio screen-printed tile R2: a tile split diagonally into grey and white triangles, the grey at the left.
R2
Diagram of Smink Studio screen-printed tile R3: a white tile with a grey triangle in one corner.
R3
Diagram of Smink Studio screen-printed tile R4: a tile divided diagonally into grey and white triangles.
R4
Diagram of Smink Studio screen-printed tile R5: a tile divided diagonally into light-grey and grey areas.
R5
Diagram of Smink Studio screen-printed tile R6: a tile divided diagonally into grey and light-grey areas.
R6
Diagram of Smink Studio screen-printed tile R7: a light-grey tile with a hatched diagonal triangle.
R7
Diagram of Smink Studio screen-printed tile R8: a light-grey tile with a hatched triangle at one side.
R8
Diagram of Smink Studio screen-printed tile R9: two overlapping light-grey triangles forming an X pattern.
R9
Diagram of Smink Studio screen-printed tile S1: a white tile with a small grey square in one corner.
S1
Diagram of Smink Studio screen-printed tile S2: a grey tile with a small white square in one corner.
S2
Diagram of Smink Studio screen-printed tile S3: a grey tile with a small light-grey square in one corner.
S3
Diagram of Smink Studio tile ALL: screen-printed in one colour over its whole surface.
ALL
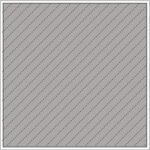
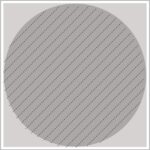
Diagram of Smink Studio tile ALL2: printed twice over its whole surface, shown as hatched grey.
ALL2
Diagram of Smink Studio Quarter Circle tile QC1: a white quarter-circle in the corner of a grey tile.
QC1
Diagram of Smink Studio Quarter Circle tile QC2: a pale quarter-circle on a striped grey tile.
QC2
Diagram of Smink Studio Quarter Circle tile QC3: a grey quarter-circle in the corner of a white tile.
QC3
Diagram of Smink Studio Quarter Circle tile QC4: a light-grey quarter-circle in the corner of a grey tile.
QC4
Diagram of Smink Studio Eclipse tile E4: a white half-circle against one edge of a grey tile.
E4
Diagram of Smink Studio Eclipse tile E5: a grey half-circle against one edge of a white tile.
E5
Diagram of Smink Studio Eclipse tile E6: two white half-circles meeting on a grey tile.
E6
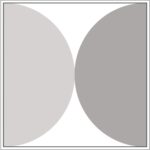
Diagram of Smink Studio Eclipse tile E7: two grey half-circles meeting in the middle of a white tile.
E7
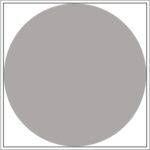
Diagram of Smink Studio Eclipse tile E8: a large grey circle on a white tile.
E8
Diagram of Smink Studio Eclipse tile E9: a large white circle on a grey tile.
E9
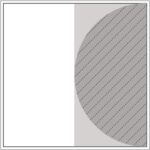
Diagram of Smink Studio Eclipse tile E10: a white tile with a light-grey band and a hatched half-circle at one edge.
E10
Diagram of Smink Studio Eclipse tile E11: a grey half-circle at one edge crossing a light-grey band, hatched where they overlap.
E11
Diagram of Smink Studio Eclipse tile E12: a light-grey band, a white centre and a grey half-circle at one edge.
E12
Diagram of Smink Studio Eclipse tile E13: a grey half-circle against one edge of a light-grey tile.
E13
Diagram of Smink Studio Eclipse tile E14: two grey half-circles meeting on a light-grey tile.
E14
Diagram of Smink Studio Eclipse tile E15: light-grey and grey half-circles at opposite edges of a white tile.
E15
Diagram of Smink Studio Eclipse tile E16: a large grey circle on a light-grey tile.
E16
Diagram of Smink Studio Eclipse tile E17: a large hatched circle on a light-grey tile.
E17
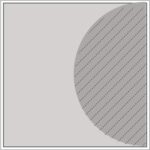
Diagram of Smink Studio Eclipse tile E18: a hatched half-circle against one edge of a light-grey tile.
E18
Diagram of Smink Studio Eclipse tile E19: a grey half-circle on a hatched light-grey tile.
E19
Diagram of Smink Studio Eclipse tile E20: two hatched half-circles meeting on a light-grey tile.
E20
Diagram of Smink Studio Eclipse tile E21: two grey half-circles meeting on a hatched light-grey tile.
E21
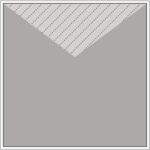
Diagram of Smink Studio screen-printed tile AL1: a grey V-shaped triangle across the top of a white tile.
AL1
Diagram of Smink Studio screen-printed tile AL2: grey and white areas divided by an angled line.
AL2
Diagram of Smink Studio screen-printed tile AL3: a Y-shaped division in three tones of grey.
AL3
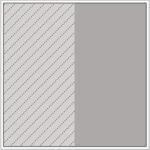
Diagram of Smink Studio screen-printed tile AL4: a tile divided vertically into white and grey halves.
AL4
Diagram of Smink Studio screen-printed tile AL5: grey and white angled shapes with a light-grey triangle and hatched overlap at the bottom.
AL5
Diagram of Smink Studio screen-printed tile AL6: a white X shape between grey and light-grey triangles.
AL6
Diagram of Smink Studio screen-printed tile AL7: a white tile with a grey V across the top and a light-grey triangle at one side.
AL7
Diagram of Smink Studio screen-printed tile AL8: a white tile with a light-grey Y shape and a hatched triangle at the top.
AL8
Diagram of Smink Studio screen-printed tile AL9: a grey tile with a hatched V-shaped triangle across the top.
AL9
Diagram of Smink Studio screen-printed tile AL10: a hatched light-grey tile with a grey angled shape at one side.
AL10
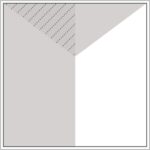
Diagram of Smink Studio screen-printed tile AL11: a tile divided vertically into hatched light-grey and grey parts.
AL11

Colours

005
006
007
008
010
100
101
104
105
200
201
203
208
300
301
302
304
307
308
309
310
402
403
405
407
410
500
502
503
505
506
507
508
509

Detail images

Useful information

  1. What it is: a handmade ceramic pocket that covers a small wall light.
  2. Size: 14 × 14 × 5 cm / 5.5 × 5.5 × 2 inches; ceramic 8 mm / 0.3 inch thick.
  3. Light: shines from the open top and through slots in the sides and bottom.
  4. Bulb: a small screw-base LED, such as a T25, E14 pygmy or E12/T8 tubular bulb.
  5. Finish: screen-printed by hand to match the surrounding tiles; glazed on every face except the back.
  6. Installation: positions set in your layout; wiring by a qualified electrician; fixed with tile adhesive and grouted.

  7. Uses: feature and accent walls in homes, hotels, restaurants and bars.

  8. Made to order: as part of a Smink Studio tile installation.

A question? A project? Advice?

We answer within 1 working day.