Square screen-printed wall tiles

Information

What they are
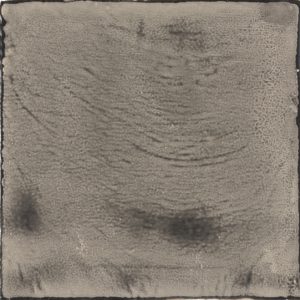
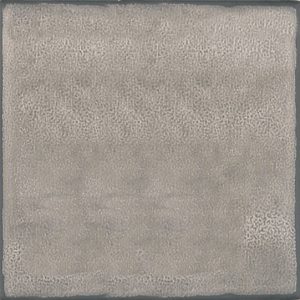
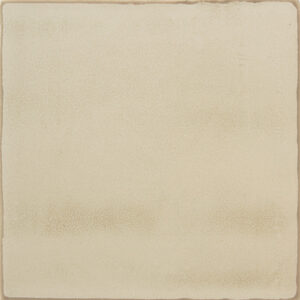
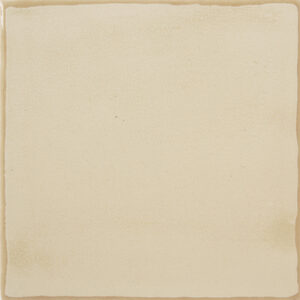
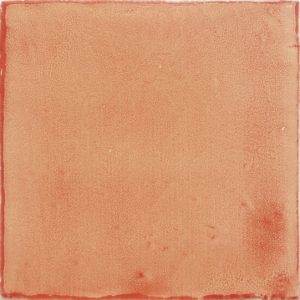
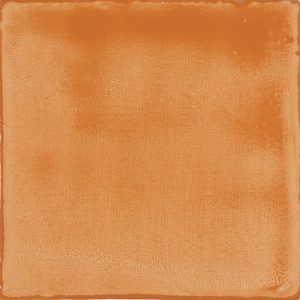
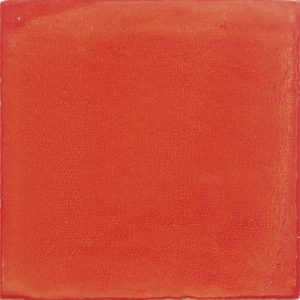
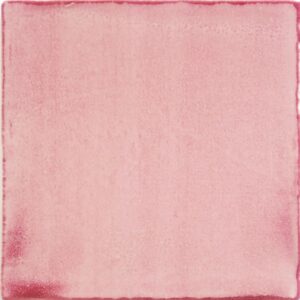
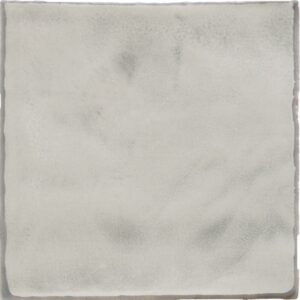
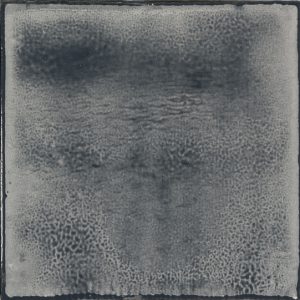
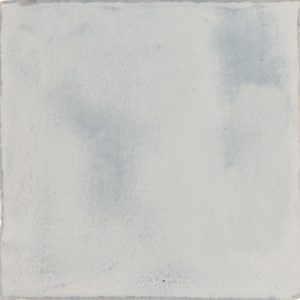
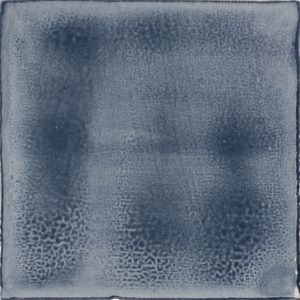
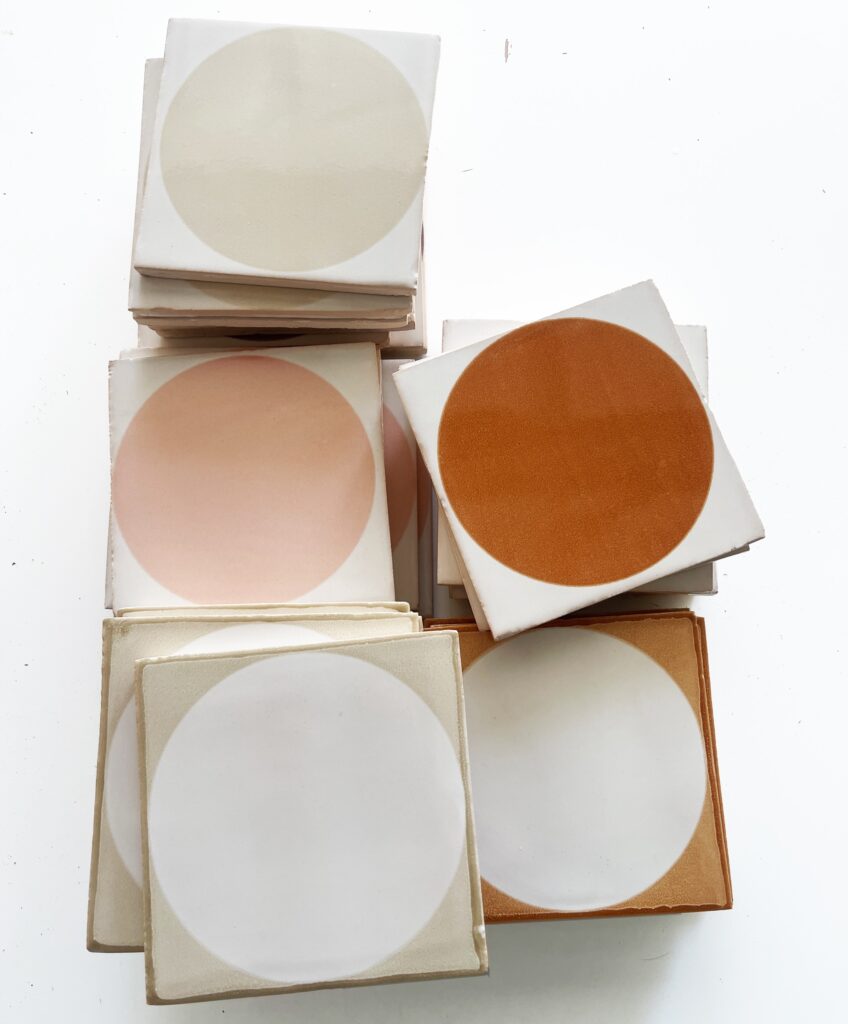
A handmade ceramic wall tile, about 14 cm square. Each starts as a square of clay glazed white or cream; we then screen-print it by hand with one of our designs, in any of our colours, before a second firing fuses the screen-printed pigment with the glaze. Because we design every layout by hand no two installations are the same.

Why designers use them
– Any colour: choose from 32 core colours.
– Any pattern: mix designs and colours on a single wall, from a quiet scatter of motifs to a full mural.
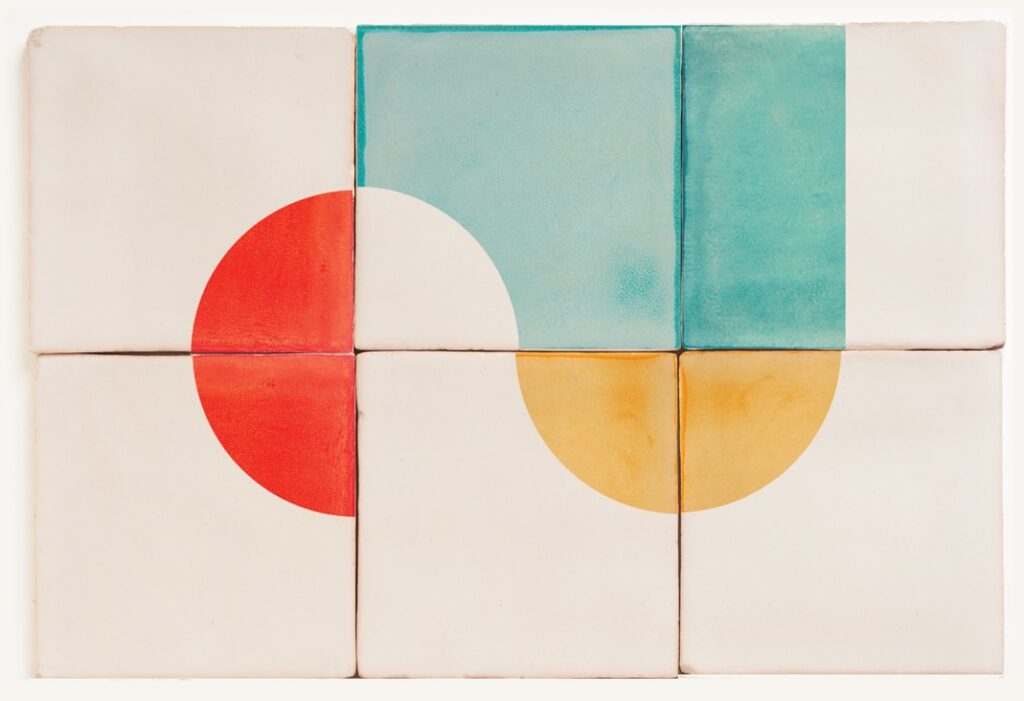
– Layered colour: print a tile twice to overlap two colours for extra depth.
– Gloss or matt: both base glazes, white and cream, come in either finish.
– A layout designed for you: we design every installation by hand, so you see the pattern before anything is made.
– One scheme throughout: our rectangular, floor and pocket tiles share the same colours, and our Relief tiles share the same shapes.

Size
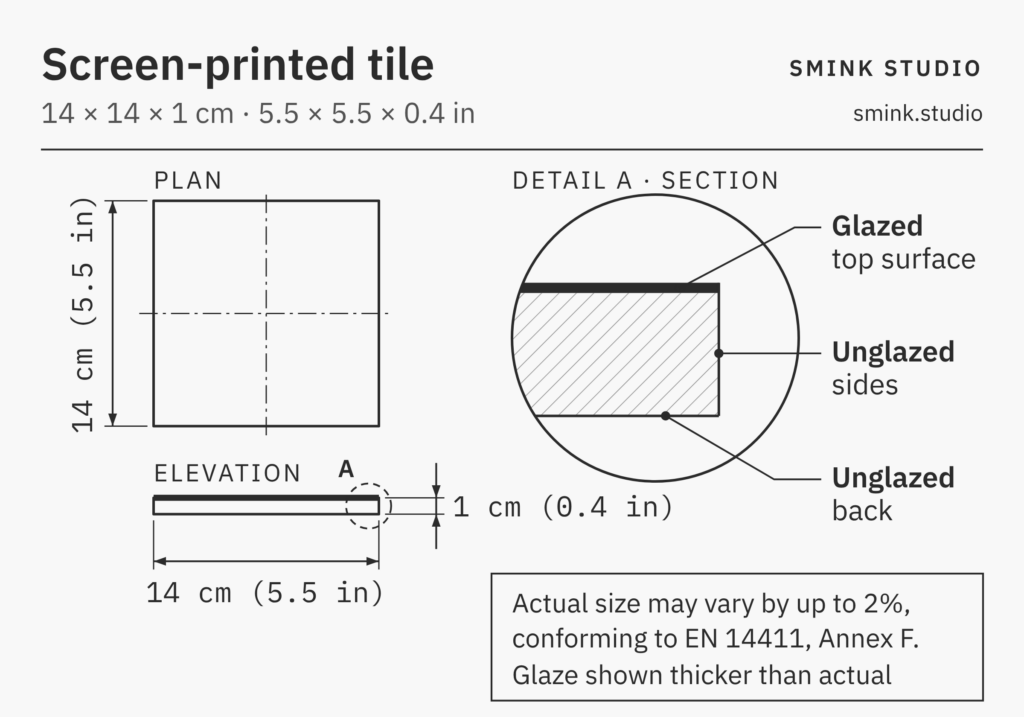
Measurements: approx 14 x 14cm / 5.5 x 5.5 inches. As with all handmade tiles, length and width can vary by up to 2%.
Thickness: 1cm / 3/8 inch.
50 tiles per m2 / 4.65 tiles per sq. ft.

Glaze
Base glaze (gloss): white PPWM or cream PPM6.
Base glaze (matt): white PWMM or cream PM6M.
Minimum 3m2 / 33sf / 150 tiles per glaze.

Screen-printed colours and designs
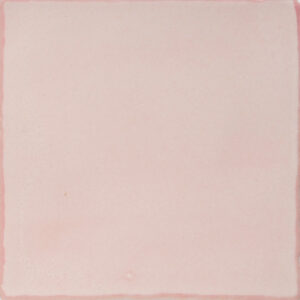
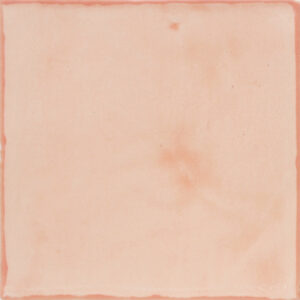
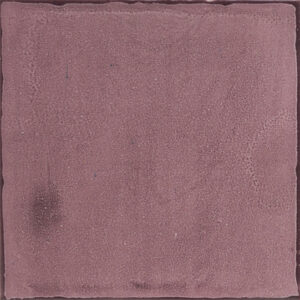
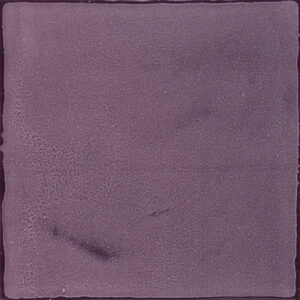
A core collection of 32 colours is available and new colours can be commissioned.
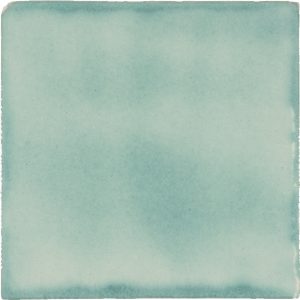
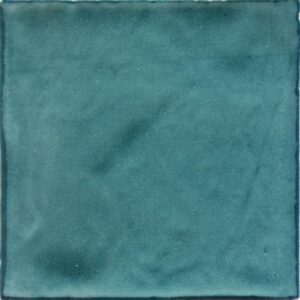
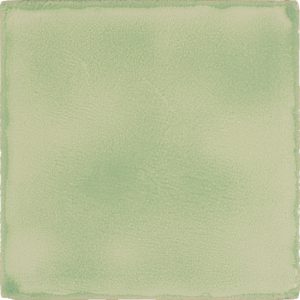
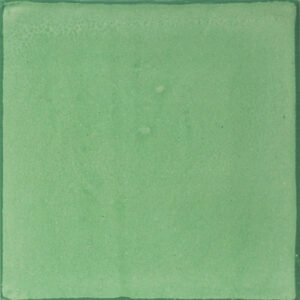
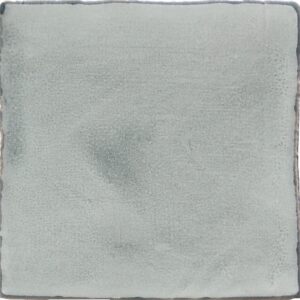
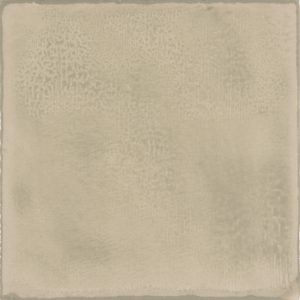
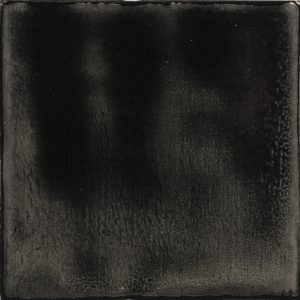
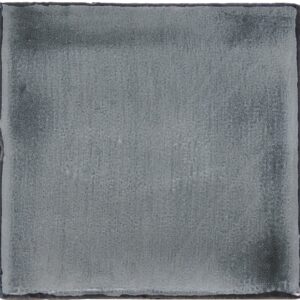
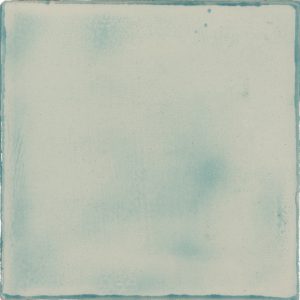
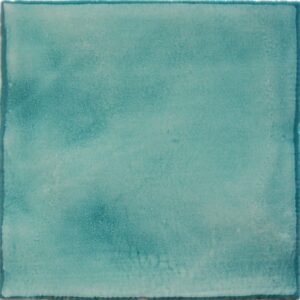
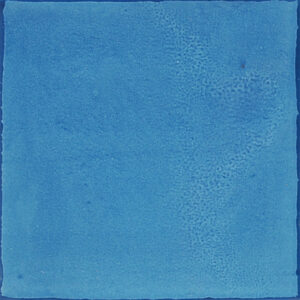
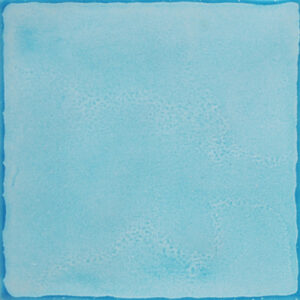
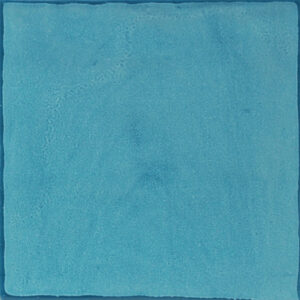
Colours are screen-printed by hand with a liquid pigment. They have a soft, almost watercolour look.
A variety of screen-printed colours and designs can be included within a single tile installation.
Tiles can be single screen-printed or double screen-printed. Where two screen-prints overlap, we make a best guess at the resulting colour.

Characteristics
Handmade tiles have characteristic differences to mass-produced tiles.
– the surface is less regular and more uneven.
– the sides of the tiles are less perfect and may be a little jagged in places.
– the corners may not be perfect.
Grout combines all these imperfections into one installation which has the look and feel of handmade tiles.

Options
If a more regular looking tile is preferred, we can press the tile before screen-printing. Pressing creates a tile which is still distinctly handmade but is flatter and more regular. An extra charge is applied for tiles that are pressed and screen-printed.
Edge pieces including bullnose can be created for all our tiles

To begin the journey, just tell us what inspires you and we’ll design a layout for you by hand.
Available designs


Diagram of Smink Studio screen-printed tile L01: fine grey concentric arcs on a white tile.

L01
Diagram of Smink Studio screen-printed tile L04: broad grey concentric arcs on a white tile.
L04
Diagram of Smink Studio screen-printed tile L11: fine white concentric arcs on a grey tile.
L11
Diagram of Smink Studio screen-printed tile L14: broad white concentric arcs on a grey tile.
L14
Diagram of Smink Studio screen-printed tile L21: fine grey concentric arcs on a light-grey tile.
L21
Diagram of Smink Studio screen-printed tile L24: broad grey concentric arcs on a light-grey tile.
L24
Diagram of Smink Studio screen-printed tile L05: a three-by-three grid of grey rounded squares on white.
L05
Diagram of Smink Studio screen-printed tile L08: one grey rounded rectangle at the top edge of a white tile.
L08
Diagram of Smink Studio screen-printed tile L09: a column of grey rounded squares on a white tile.
L09
Diagram of Smink Studio screen-printed tile L16: a cluster of white rounded squares on a grey tile.
L16
Diagram of Smink Studio screen-printed tile L18: a single white rounded rectangle at the top edge of a grey tile.
L18
Diagram of Smink Studio screen-printed tile L19: a column of white rounded squares on a grey tile.
L19
Diagram of Smink Studio screen-printed tile SR1: a large grey quarter-circle on a white tile.
SR1
Diagram of Smink Studio screen-printed tile SR2: a striped quarter-ring on a grey tile.
SR2
Diagram of Smink Studio screen-printed tile SR3: a grey tile with a hatched quarter-ring and a small white square in one corner.
SR3
Diagram of Smink Studio screen-printed tile SR4: a grey tile with a hatched quarter-ring and a small light-grey square in one corner.
SR4
Diagram of Smink Studio screen-printed tile SR5: a white tile with a light-grey quarter-circle and a hatched square in the corner.
SR5
Diagram of Smink Studio screen-printed tile SR6: a light-grey tile with a hatched quarter-circle.
SR6
Diagram of a plain Smink Studio handmade tile in a single solid glaze colour.
SOLID
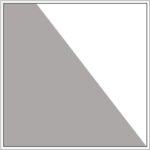
Diagram of Smink Studio screen-printed tile R1: a tile split diagonally into white and grey triangles.
R1
Diagram of Smink Studio screen-printed tile R2: a tile split diagonally into grey and white triangles, the grey at the left.
R2
Diagram of Smink Studio screen-printed tile R3: a white tile with a grey triangle in one corner.
R3
Diagram of Smink Studio screen-printed tile R4: a tile divided diagonally into grey and white triangles.
R4
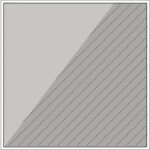
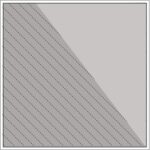
Diagram of Smink Studio screen-printed tile R5: a tile divided diagonally into light-grey and grey areas.
R5
Diagram of Smink Studio screen-printed tile R6: a tile divided diagonally into grey and light-grey areas.
R6
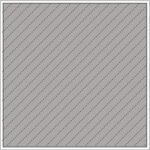
Diagram of Smink Studio screen-printed tile R7: a light-grey tile with a hatched diagonal triangle.
R7
Diagram of Smink Studio screen-printed tile R8: a light-grey tile with a hatched triangle at one side.
R8
Diagram of Smink Studio screen-printed tile R9: two overlapping light-grey triangles forming an X pattern.
R9
Diagram of Smink Studio screen-printed tile S1: a white tile with a small grey square in one corner.
S1
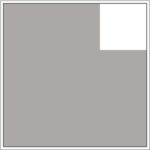
Diagram of Smink Studio screen-printed tile S2: a grey tile with a small white square in one corner.
S2
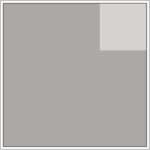
Diagram of Smink Studio screen-printed tile S3: a grey tile with a small light-grey square in one corner.
S3
Diagram of Smink Studio tile ALL: screen-printed in one colour over its whole surface.
ALL
Diagram of Smink Studio tile ALL2: printed twice over its whole surface, shown as hatched grey.
ALL2
Diagram of Smink Studio Quarter Circle tile QC1: a white quarter-circle in the corner of a grey tile.
QC1
Diagram of Smink Studio Quarter Circle tile QC2: a pale quarter-circle on a striped grey tile.
QC2
Diagram of Smink Studio Quarter Circle tile QC3: a grey quarter-circle in the corner of a white tile.
QC3
Diagram of Smink Studio Quarter Circle tile QC4: a light-grey quarter-circle in the corner of a grey tile.
QC4
Diagram of Smink Studio Eclipse tile E4: a white half-circle against one edge of a grey tile.
E4
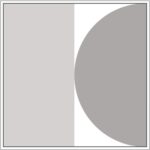
Diagram of Smink Studio Eclipse tile E5: a grey half-circle against one edge of a white tile.
E5
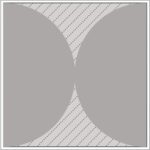
Diagram of Smink Studio Eclipse tile E6: two white half-circles meeting on a grey tile.
E6
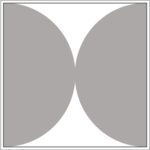
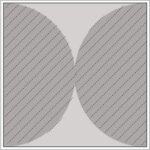
Diagram of Smink Studio Eclipse tile E7: two grey half-circles meeting in the middle of a white tile.
E7
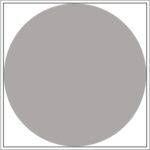
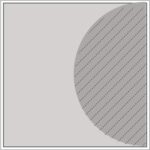
Diagram of Smink Studio Eclipse tile E8: a large grey circle on a white tile.
E8
Diagram of Smink Studio Eclipse tile E9: a large white circle on a grey tile.
E9
Diagram of Smink Studio Eclipse tile E10: a white tile with a light-grey band and a hatched half-circle at one edge.
E10
Diagram of Smink Studio Eclipse tile E11: a grey half-circle at one edge crossing a light-grey band, hatched where they overlap.
E11
Diagram of Smink Studio Eclipse tile E12: a light-grey band, a white centre and a grey half-circle at one edge.
E12
Diagram of Smink Studio Eclipse tile E13: a grey half-circle against one edge of a light-grey tile.
E13
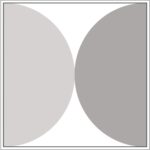
Diagram of Smink Studio Eclipse tile E14: two grey half-circles meeting on a light-grey tile.
E14
Diagram of Smink Studio Eclipse tile E15: light-grey and grey half-circles at opposite edges of a white tile.
E15
Diagram of Smink Studio Eclipse tile E16: a large grey circle on a light-grey tile.
E16
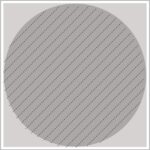
Diagram of Smink Studio Eclipse tile E17: a large hatched circle on a light-grey tile.
E17
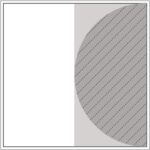
Diagram of Smink Studio Eclipse tile E18: a hatched half-circle against one edge of a light-grey tile.
E18
Diagram of Smink Studio Eclipse tile E19: a grey half-circle on a hatched light-grey tile.
E19
Diagram of Smink Studio Eclipse tile E20: two hatched half-circles meeting on a light-grey tile.
E20
Diagram of Smink Studio Eclipse tile E21: two grey half-circles meeting on a hatched light-grey tile.
E21
Diagram of Smink Studio screen-printed tile AL1: a grey V-shaped triangle across the top of a white tile.
AL1
Diagram of Smink Studio screen-printed tile AL2: grey and white areas divided by an angled line.
AL2
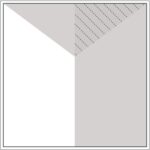
Diagram of Smink Studio screen-printed tile AL3: a Y-shaped division in three tones of grey.
AL3
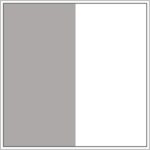
Diagram of Smink Studio screen-printed tile AL4: a tile divided vertically into white and grey halves.
AL4
Diagram of Smink Studio screen-printed tile AL5: grey and white angled shapes with a light-grey triangle and hatched overlap at the bottom.
AL5
Diagram of Smink Studio screen-printed tile AL6: a white X shape between grey and light-grey triangles.
AL6
Diagram of Smink Studio screen-printed tile AL7: a white tile with a grey V across the top and a light-grey triangle at one side.
AL7
Diagram of Smink Studio screen-printed tile AL8: a white tile with a light-grey Y shape and a hatched triangle at the top.
AL8
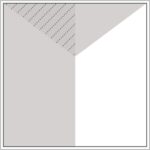
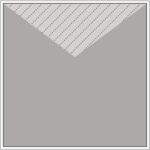
Diagram of Smink Studio screen-printed tile AL9: a grey tile with a hatched V-shaped triangle across the top.
AL9
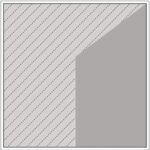
Diagram of Smink Studio screen-printed tile AL10: a hatched light-grey tile with a grey angled shape at one side.
AL10
Diagram of Smink Studio screen-printed tile AL11: a tile divided vertically into hatched light-grey and grey parts.
AL11

Colours
005
006
007
008
010
100
101
104
105
200
201
203
208
300
301
302
304
307
308
309
310
402
403
405
407
410
500
502
503
505
506
507
508
509

Detail images

Technical drawing of a 14 × 14 × 1 cm screen-printed tile: the top surface is glazed, the sides and back are unglazed.
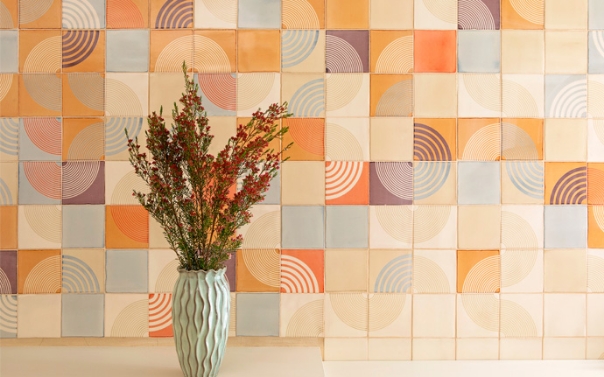
Vase of dried flowers before a splashback of Smink Studio screen-printed tiles in peach, orange, lilac and blue arcs.
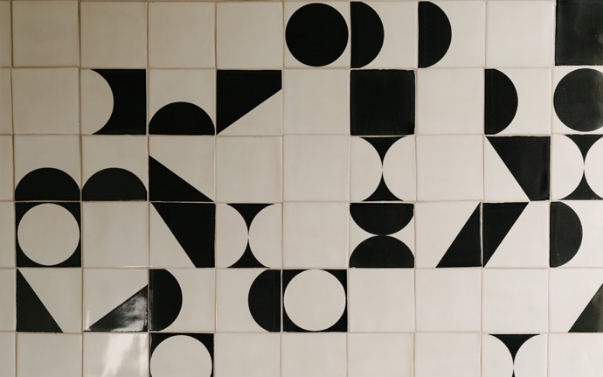
Wall of white Smink Studio handmade tiles with bold black screen-printed half-circles, circles and triangles.
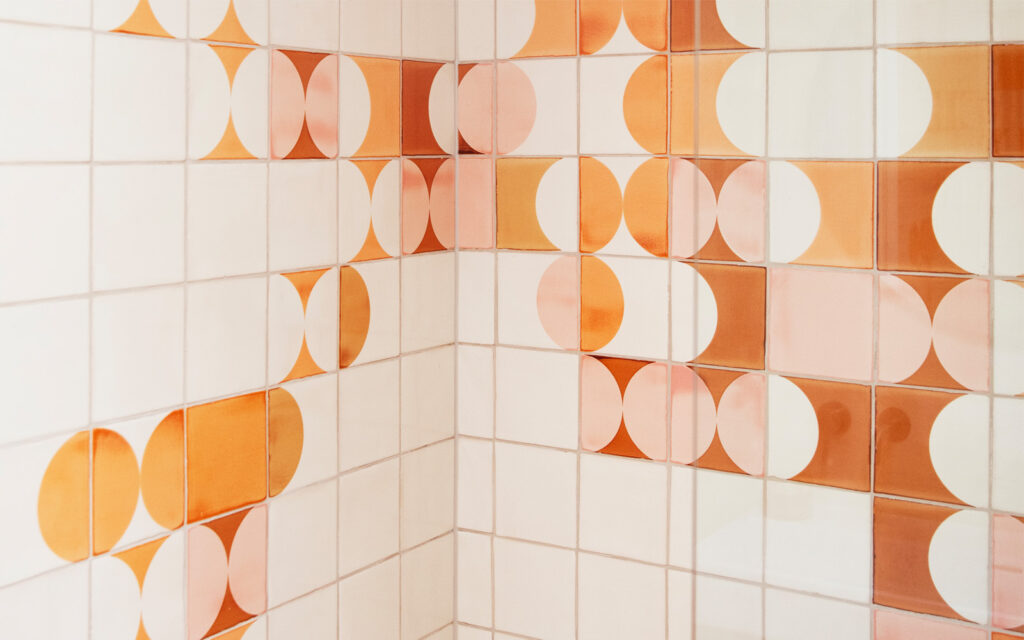
Corner of a wall in white Smink Studio tiles with screen-printed half-circles in orange, peach and blush pink.
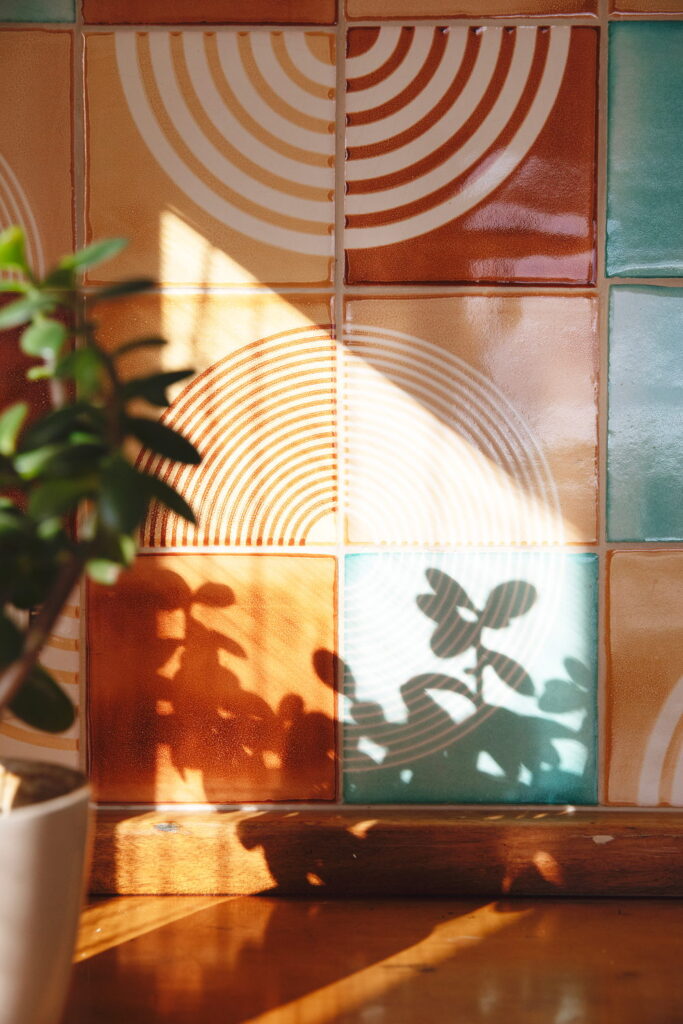
Smink Studio handmade ceramic tiles in amber, terracotta, teal and green with a concentric-circle relief pattern, lit by sunlight and leaf shadows.

Useful information

  1. Manufacturing process: Handmade in Portugal; extruded clay pressed by hand into shape.
  2. Surface finish: Glossy or matt glaze, with the natural variation of a handmade tile.
  3. Size and thickness: 14 × 14 cm / 5.5 x 5.5 inches; Thickness 1 cm / 0.4″
  4. Durability: Frost- and stain-resistant, confirmed by independent laboratory tests.
  5. Uses: Kitchen splashbacks, bathroom walls and fireplaces, indoors or out.
  6. Made to order: Colours and design tailored to each project.
  7. Installation: Standard adhesive and grout.
  8. Care: Wipe with a damp cloth and mild cleaner; the glaze resists household chemicals.

A question? A project? Advice?

We answer within 1 working day.