Products

Information

What they are
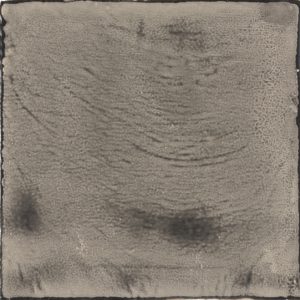
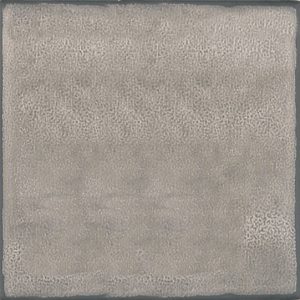
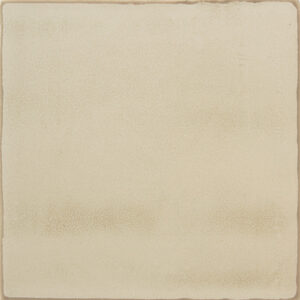
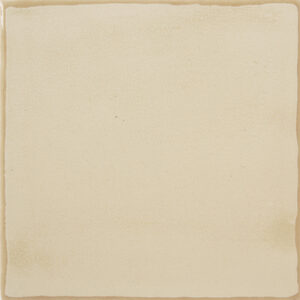
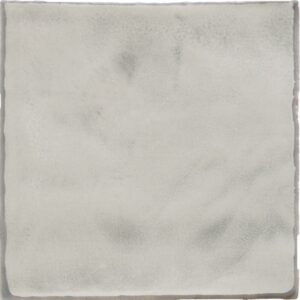
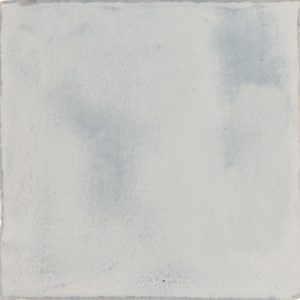
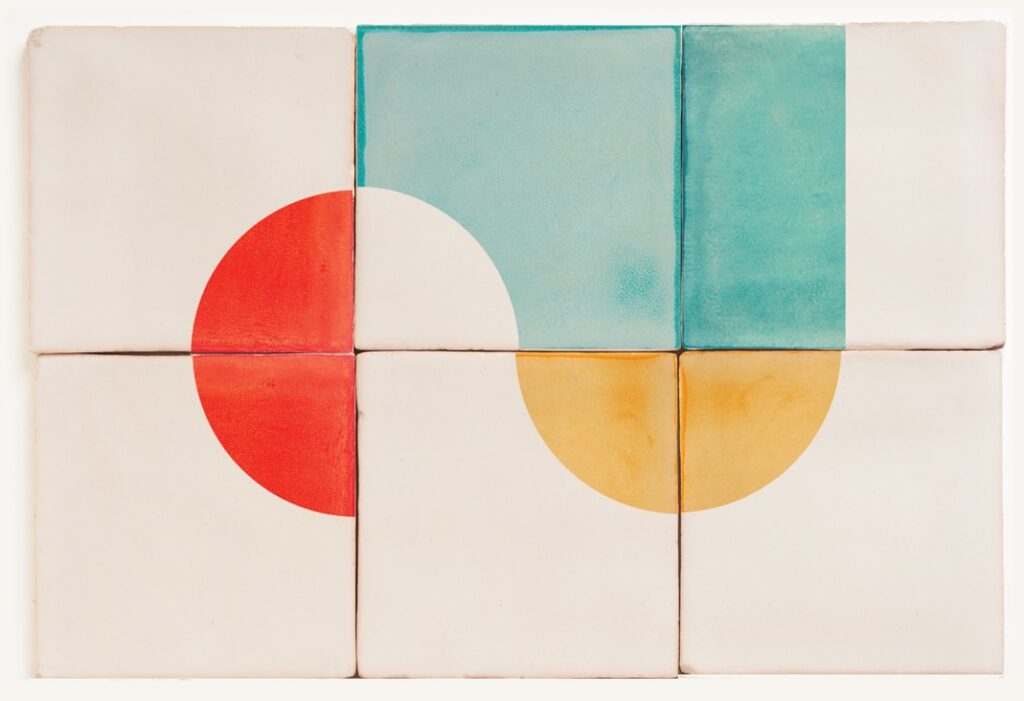
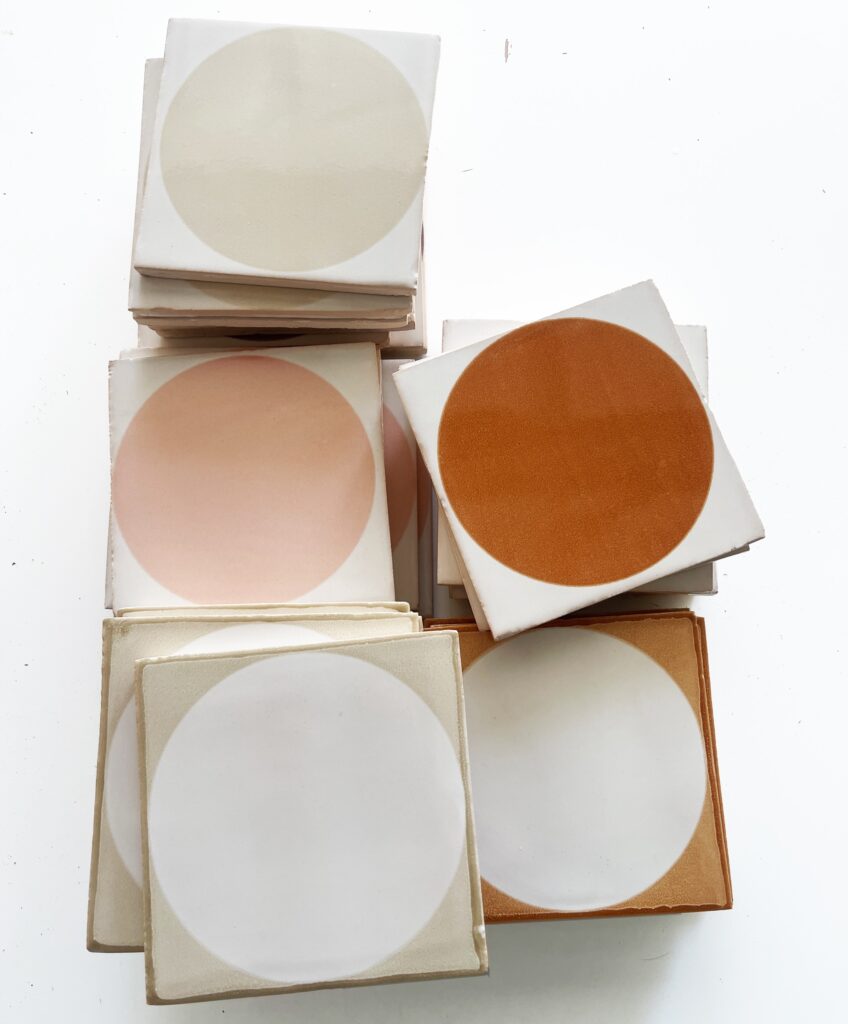
A handmade ceramic wall tile, about 14 cm square. Each starts as a square of clay glazed white or cream; we then screen-print it by hand with one of our designs, in any of our colours, before a second firing fuses the screen-printed pigment with the glaze. Because we design every layout by hand no two installations are the same.

Why designers use them
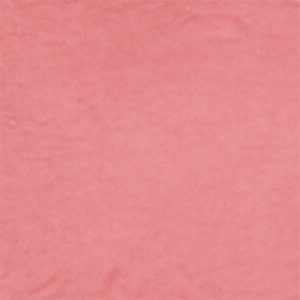
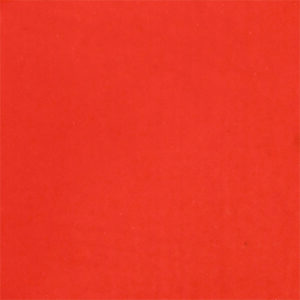
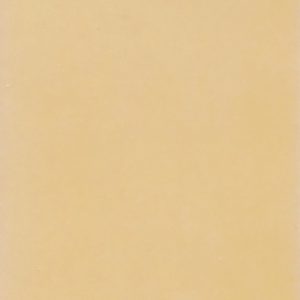
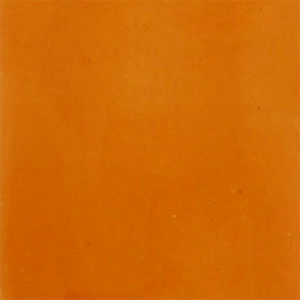
– Any colour: choose from 32 core colours.
– Any pattern: mix designs and colours on a single wall, from a quiet scatter of motifs to a full mural.
– Layered colour: print a tile twice to overlap two colours for extra depth.
– Gloss or matt: both base glazes, white and cream, come in either finish.
– A layout designed for you: we design every installation by hand, so you see the pattern before anything is made.
– One scheme throughout: our rectangular, floor and pocket tiles share the same colours, and our Relief tiles share the same shapes.

Size
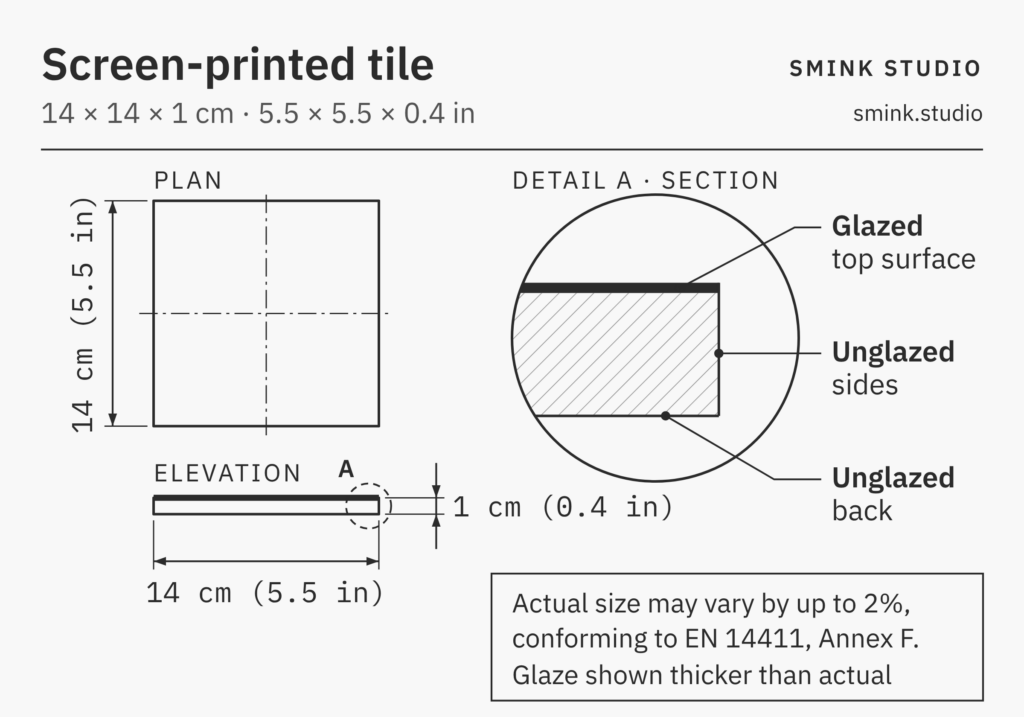
Measurements: approx 14 x 14cm / 5.5 x 5.5 inches. As with all handmade tiles, length and width can vary by up to 2%.
Thickness: 1cm / 3/8 inch.
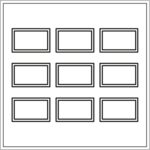
50 tiles per m2 / 4.65 tiles per sq. ft.

Glaze
Base glaze (gloss): white PPWM or cream PPM6.
Base glaze (matt): white PWMM or cream PM6M.
Minimum 3m2 / 33sf / 150 tiles per glaze.

Screen-printed colours and designs
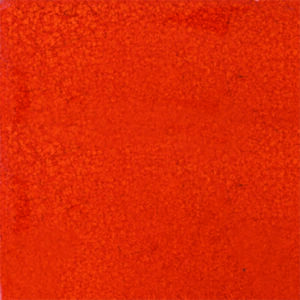
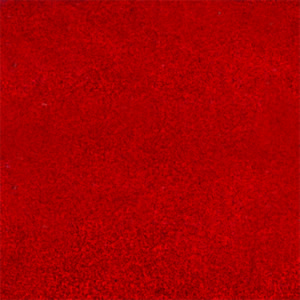
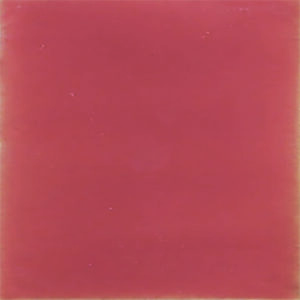
A core collection of 32 colours is available and new colours can be commissioned.
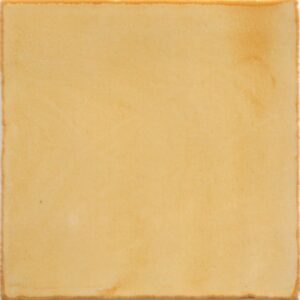
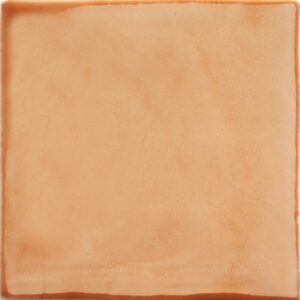
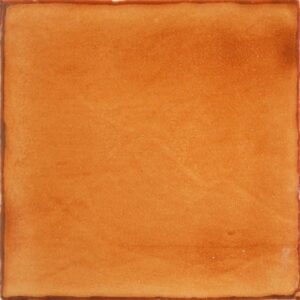
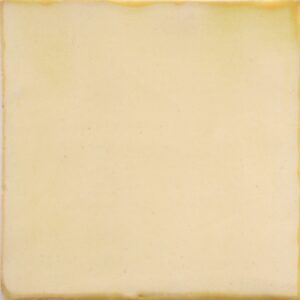
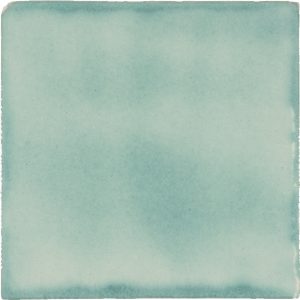
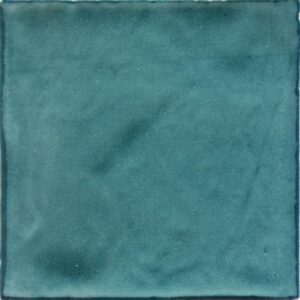
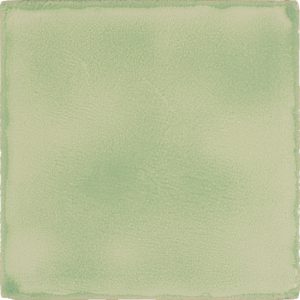
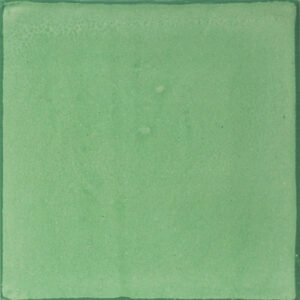
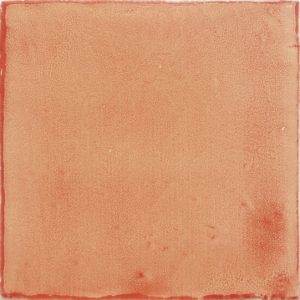
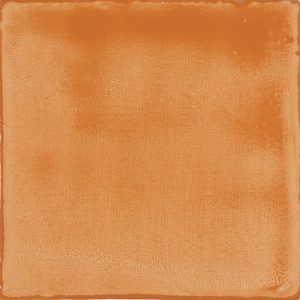
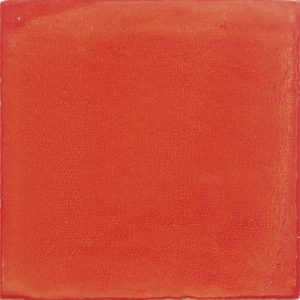
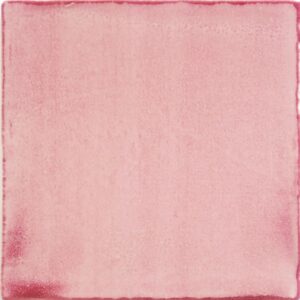
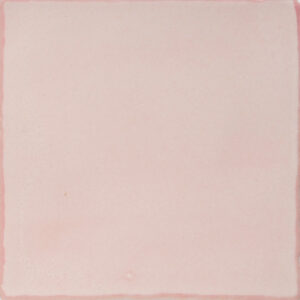
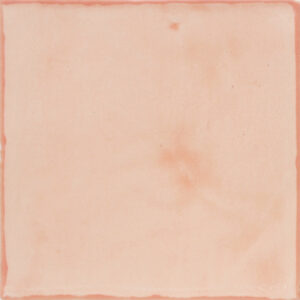
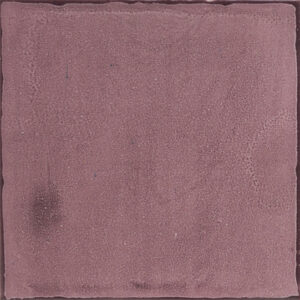
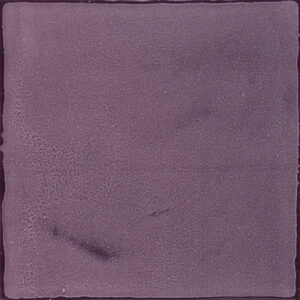
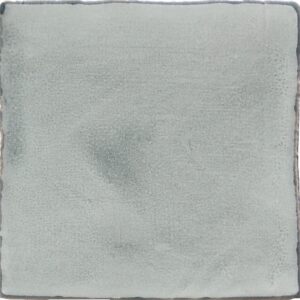
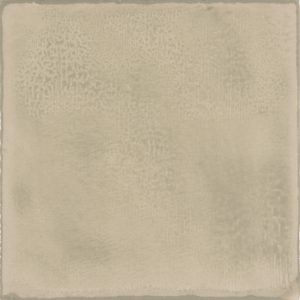
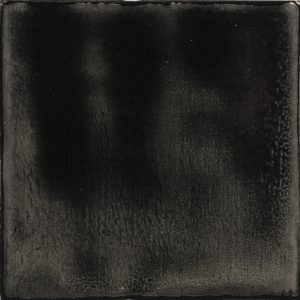
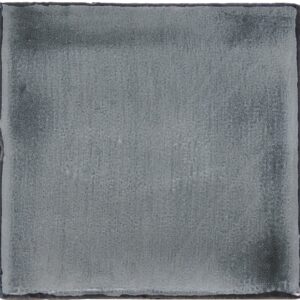
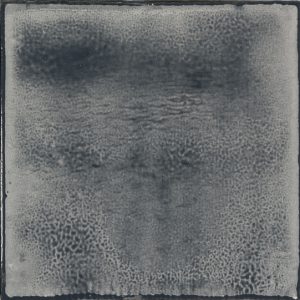
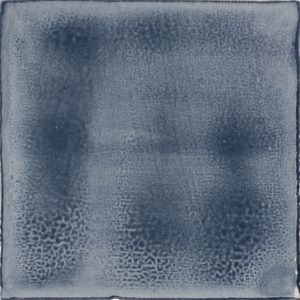
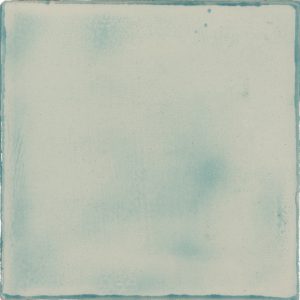
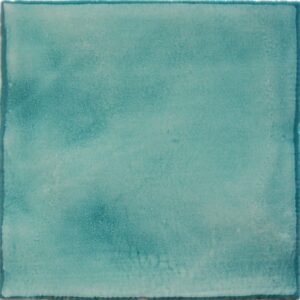
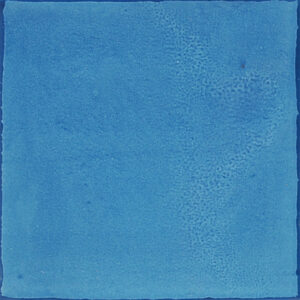
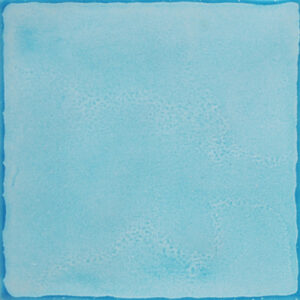
Colours are screen-printed by hand with a liquid pigment. They have a soft, almost watercolour look.
A variety of screen-printed colours and designs can be included within a single tile installation.
Tiles can be single screen-printed or double screen-printed. Where two screen-prints overlap, we make a best guess at the resulting colour.

Characteristics
Handmade tiles have characteristic differences to mass-produced tiles.
– the surface is less regular and more uneven.
– the sides of the tiles are less perfect and may be a little jagged in places.
– the corners may not be perfect.
Grout combines all these imperfections into one installation which has the look and feel of handmade tiles.

Options
If a more regular looking tile is preferred, we can press the tile before screen-printing. Pressing creates a tile which is still distinctly handmade but is flatter and more regular. An extra charge is applied for tiles that are pressed and screen-printed.
Edge pieces including bullnose can be created for all our tiles

To begin the journey, just tell us what inspires you and we’ll design a layout for you by hand.
Available designs


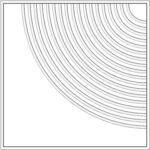
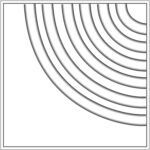
Diagram of Smink Studio screen-printed tile L01: fine grey concentric arcs on a white tile.
L01
Diagram of Smink Studio screen-printed tile L04: broad grey concentric arcs on a white tile.
L04
Diagram of Smink Studio screen-printed tile L11: fine white concentric arcs on a grey tile.
L11
Diagram of Smink Studio screen-printed tile L14: broad white concentric arcs on a grey tile.
L14
Diagram of Smink Studio screen-printed tile L21: fine grey concentric arcs on a light-grey tile.
L21
Diagram of Smink Studio screen-printed tile L24: broad grey concentric arcs on a light-grey tile.
L24
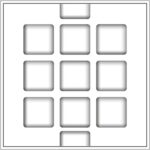
Diagram of Smink Studio screen-printed tile L05: a three-by-three grid of grey rounded squares on white.
L05
Diagram of Smink Studio screen-printed tile L08: one grey rounded rectangle at the top edge of a white tile.
L08
Diagram of Smink Studio screen-printed tile L09: a column of grey rounded squares on a white tile.
L09
Diagram of Smink Studio screen-printed tile L16: a cluster of white rounded squares on a grey tile.
L16
Diagram of Smink Studio screen-printed tile L18: a single white rounded rectangle at the top edge of a grey tile.
L18
Diagram of Smink Studio screen-printed tile L19: a column of white rounded squares on a grey tile.
L19
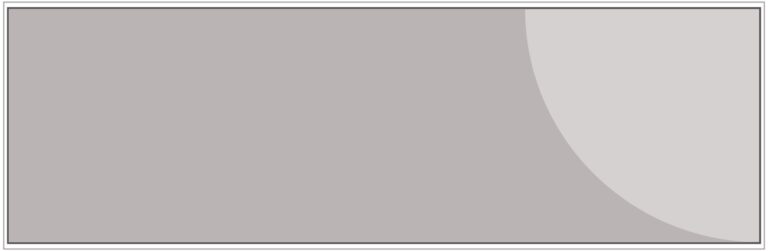
Diagram of Smink Studio screen-printed tile SR1: a large grey quarter-circle on a white tile.
SR1
Diagram of Smink Studio screen-printed tile SR2: a striped quarter-ring on a grey tile.
SR2
Diagram of Smink Studio screen-printed tile SR3: a grey tile with a hatched quarter-ring and a small white square in one corner.
SR3
Diagram of Smink Studio screen-printed tile SR4: a grey tile with a hatched quarter-ring and a small light-grey square in one corner.
SR4
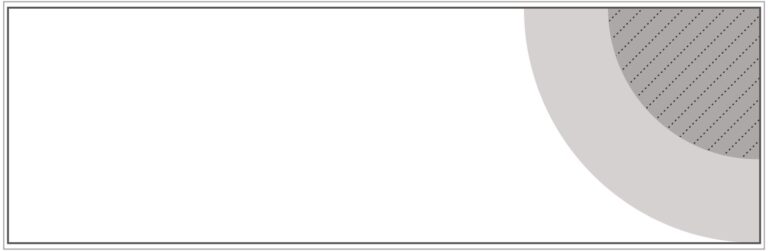
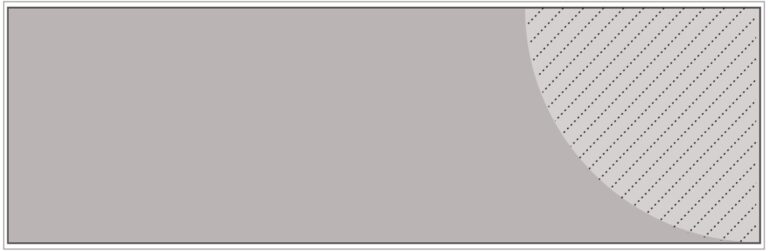
Diagram of Smink Studio screen-printed tile SR5: a white tile with a light-grey quarter-circle and a hatched square in the corner.
SR5
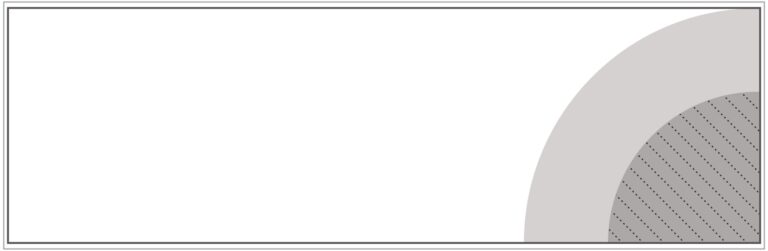
Diagram of Smink Studio screen-printed tile SR6: a light-grey tile with a hatched quarter-circle.
SR6
Diagram of a plain Smink Studio handmade tile in a single solid glaze colour.
SOLID
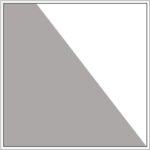
Diagram of Smink Studio screen-printed tile R1: a tile split diagonally into white and grey triangles.
R1
Diagram of Smink Studio screen-printed tile R2: a tile split diagonally into grey and white triangles, the grey at the left.
R2
Diagram of Smink Studio screen-printed tile R3: a white tile with a grey triangle in one corner.
R3
Diagram of Smink Studio screen-printed tile R4: a tile divided diagonally into grey and white triangles.
R4
Diagram of Smink Studio screen-printed tile R5: a tile divided diagonally into light-grey and grey areas.
R5
Diagram of Smink Studio screen-printed tile R6: a tile divided diagonally into grey and light-grey areas.
R6
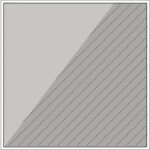
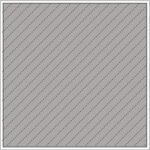
Diagram of Smink Studio screen-printed tile R7: a light-grey tile with a hatched diagonal triangle.
R7
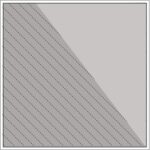
Diagram of Smink Studio screen-printed tile R8: a light-grey tile with a hatched triangle at one side.
R8
Diagram of Smink Studio screen-printed tile R9: two overlapping light-grey triangles forming an X pattern.
R9
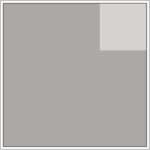
Diagram of Smink Studio screen-printed tile S1: a white tile with a small grey square in one corner.
S1
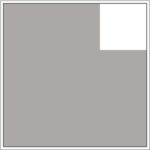
Diagram of Smink Studio screen-printed tile S2: a grey tile with a small white square in one corner.
S2
Diagram of Smink Studio screen-printed tile S3: a grey tile with a small light-grey square in one corner.
S3
Diagram of Smink Studio tile ALL: screen-printed in one colour over its whole surface.
ALL
Diagram of Smink Studio tile ALL2: printed twice over its whole surface, shown as hatched grey.
ALL2
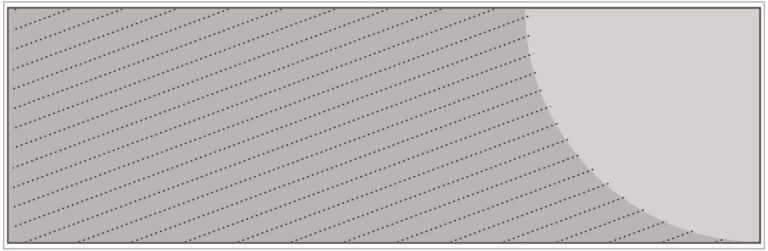
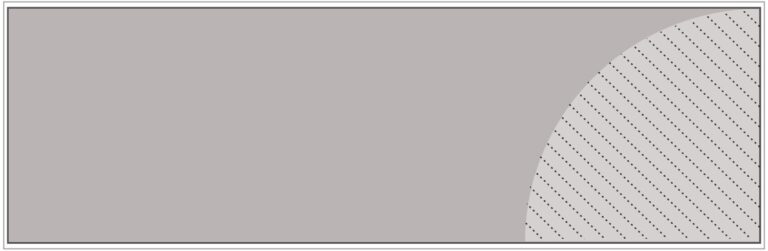
Diagram of Smink Studio Quarter Circle tile QC1: a white quarter-circle in the corner of a grey tile.
QC1
Diagram of Smink Studio Quarter Circle tile QC2: a pale quarter-circle on a striped grey tile.
QC2
Diagram of Smink Studio Quarter Circle tile QC3: a grey quarter-circle in the corner of a white tile.
QC3
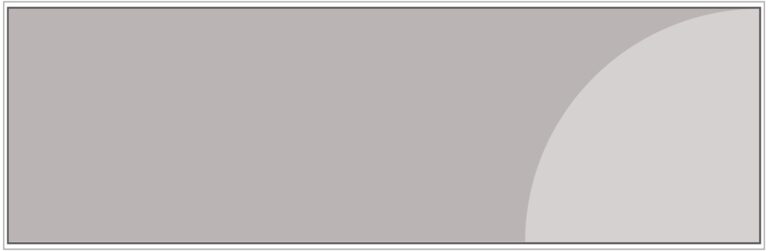
Diagram of Smink Studio Quarter Circle tile QC4: a light-grey quarter-circle in the corner of a grey tile.
QC4
Diagram of Smink Studio Eclipse tile E4: a white half-circle against one edge of a grey tile.
E4
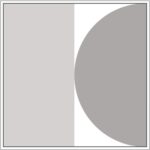
Diagram of Smink Studio Eclipse tile E5: a grey half-circle against one edge of a white tile.
E5
Diagram of Smink Studio Eclipse tile E6: two white half-circles meeting on a grey tile.
E6
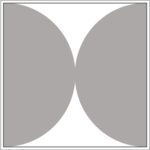
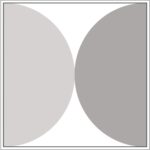
Diagram of Smink Studio Eclipse tile E7: two grey half-circles meeting in the middle of a white tile.
E7
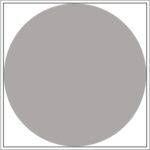
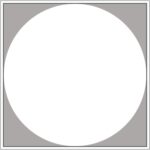
Diagram of Smink Studio Eclipse tile E8: a large grey circle on a white tile.
E8
Diagram of Smink Studio Eclipse tile E9: a large white circle on a grey tile.
E9
Diagram of Smink Studio Eclipse tile E10: a white tile with a light-grey band and a hatched half-circle at one edge.
E10
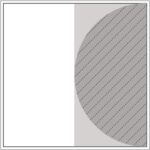
Diagram of Smink Studio Eclipse tile E11: a grey half-circle at one edge crossing a light-grey band, hatched where they overlap.
E11
Diagram of Smink Studio Eclipse tile E12: a light-grey band, a white centre and a grey half-circle at one edge.
E12
Diagram of Smink Studio Eclipse tile E13: a grey half-circle against one edge of a light-grey tile.
E13
Diagram of Smink Studio Eclipse tile E14: two grey half-circles meeting on a light-grey tile.
E14
Diagram of Smink Studio Eclipse tile E15: light-grey and grey half-circles at opposite edges of a white tile.
E15
Diagram of Smink Studio Eclipse tile E16: a large grey circle on a light-grey tile.
E16
Diagram of Smink Studio Eclipse tile E17: a large hatched circle on a light-grey tile.
E17
Diagram of Smink Studio Eclipse tile E18: a hatched half-circle against one edge of a light-grey tile.
E18
Diagram of Smink Studio Eclipse tile E19: a grey half-circle on a hatched light-grey tile.
E19
Diagram of Smink Studio Eclipse tile E20: two hatched half-circles meeting on a light-grey tile.
E20
Diagram of Smink Studio Eclipse tile E21: two grey half-circles meeting on a hatched light-grey tile.
E21
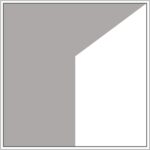
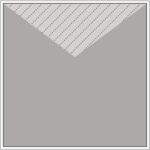
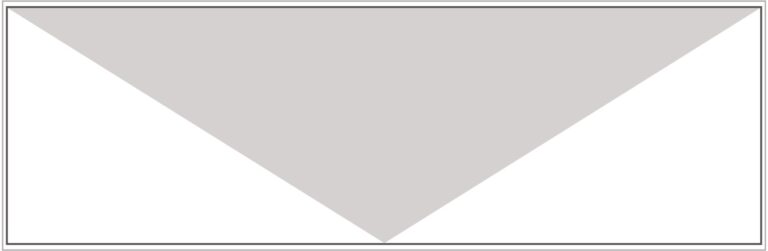
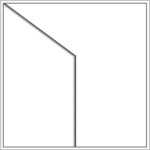
Diagram of Smink Studio screen-printed tile AL1: a grey V-shaped triangle across the top of a white tile.
AL1
Diagram of Smink Studio screen-printed tile AL2: grey and white areas divided by an angled line.
AL2
Diagram of Smink Studio screen-printed tile AL3: a Y-shaped division in three tones of grey.
AL3
Diagram of Smink Studio screen-printed tile AL4: a tile divided vertically into white and grey halves.
AL4
Diagram of Smink Studio screen-printed tile AL5: grey and white angled shapes with a light-grey triangle and hatched overlap at the bottom.
AL5
Diagram of Smink Studio screen-printed tile AL6: a white X shape between grey and light-grey triangles.
AL6
Diagram of Smink Studio screen-printed tile AL7: a white tile with a grey V across the top and a light-grey triangle at one side.
AL7
Diagram of Smink Studio screen-printed tile AL8: a white tile with a light-grey Y shape and a hatched triangle at the top.
AL8
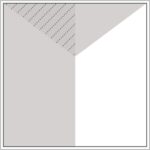
Diagram of Smink Studio screen-printed tile AL9: a grey tile with a hatched V-shaped triangle across the top.
AL9
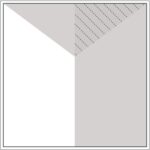
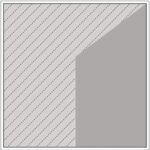
Diagram of Smink Studio screen-printed tile AL10: a hatched light-grey tile with a grey angled shape at one side.
AL10
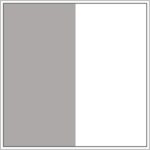
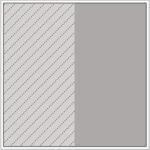
Diagram of Smink Studio screen-printed tile AL11: a tile divided vertically into hatched light-grey and grey parts.
AL11

Colours

005
006
007
008
010
100
101
104
105
200
201
203
208
300
301
302
304
307
308
309
310
402
403
405
407
410
500
502
503
505
506
507
508
509

Detail images

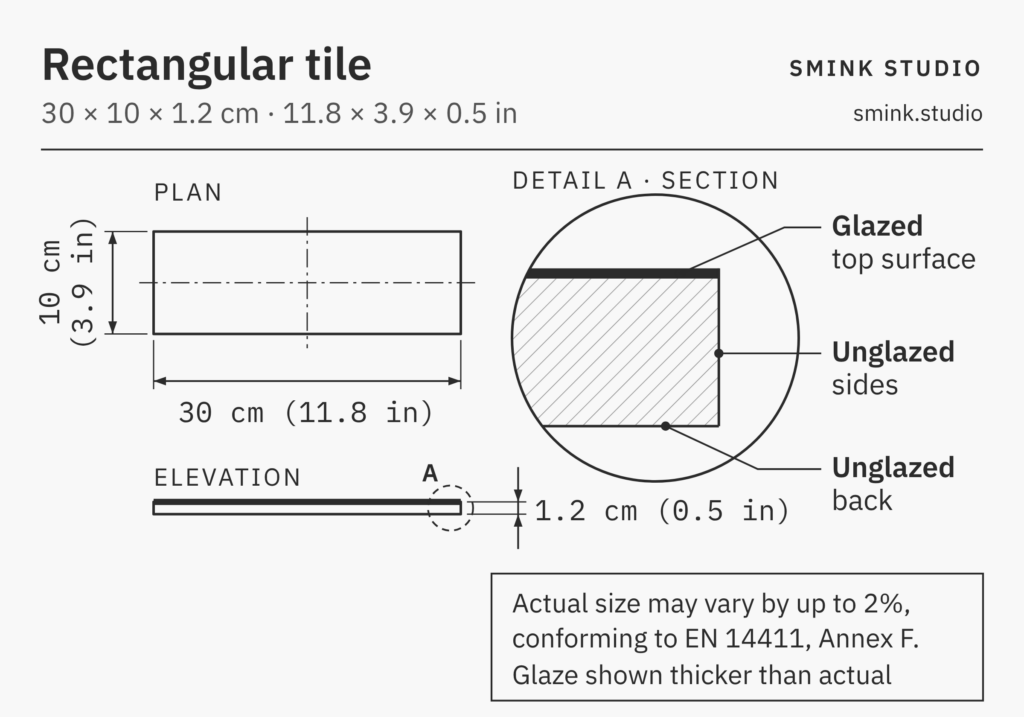
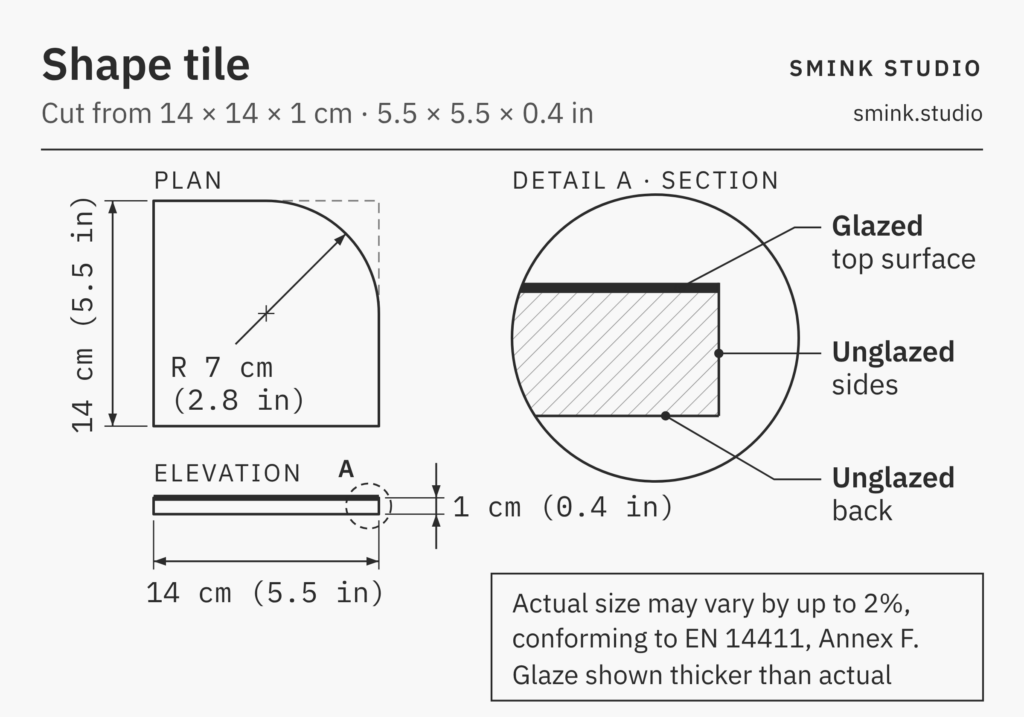
Technical drawing of a 14 × 14 × 1 cm screen-printed tile: the top surface is glazed, the sides and back are unglazed.

Useful information

  1. Manufacturing process: Handmade in Portugal; extruded clay pressed by hand into shape.
  2. Surface finish: Glossy or matt glaze, with the natural variation of a handmade tile.
  3. Size and thickness: 14 × 14 cm / 5.5 x 5.5 inches; Thickness 1 cm / 0.4″
  4. Durability: Frost- and stain-resistant, confirmed by independent laboratory tests.
  5. Uses: Kitchen splashbacks, bathroom walls and fireplaces, indoors or out.
  6. Made to order: Colours and design tailored to each project.
  7. Installation: Standard adhesive and grout.
  8. Care: Wipe with a damp cloth and mild cleaner; the glaze resists household chemicals.

Information

What they are
A handmade ceramic wall tile, about 30 × 10 cm, screen-printed by hand with our designs in any of our colours. It brings the freedom of our screen-printed tiles to the long, classic shape of a subway tile.

Why designers use them
– Any colour: choose from 32 core colours, or commission a new one. For projects above 20 m² / 200 sq ft, we can match a paint, fabric or brand colour.
– Many ways to lay: horizontal, vertical, stacked, half-drop or one-third drop.
– Any pattern: mix designs and colours on a single wall, or keep to one for a calmer look.
– Gloss or matt: both base glazes, white and cream, come in either finish.
– A layout drawn for you: we design every installation by hand, so you see the pattern before anything is made.
– One scheme throughout: the same colours and glazes as our square tiles, so a single scheme can run across both.

Size
About 30 × 10 cm / 12 × 4 inches. As with all handmade tiles, length and width can vary by up to 2%.
Thickness: 1.2 cm / ½ inch.
33 tiles per m2 / 3.06 tiles per sq. ft.

Glaze
Gloss base glaze: white PPWM or cream PPM6.
Matt base glaze: white PWMM or cream PM6M.
Minimum 3 m² / 33 sq ft (99 tiles) per base glaze.

Screen-printed colours and designs
A core collection of 32 colours is available and new colours can be commissioned.
Colours are screen-printed by hand with a liquid pigment. They have a soft, almost watercolour look.
A variety of screen-printed colours and designs can be included within a single tile installation.
Tiles can be single screen-printed or double screen-printed. Where two screen-prints overlap, we make a best guess at the resulting colour.

Laying
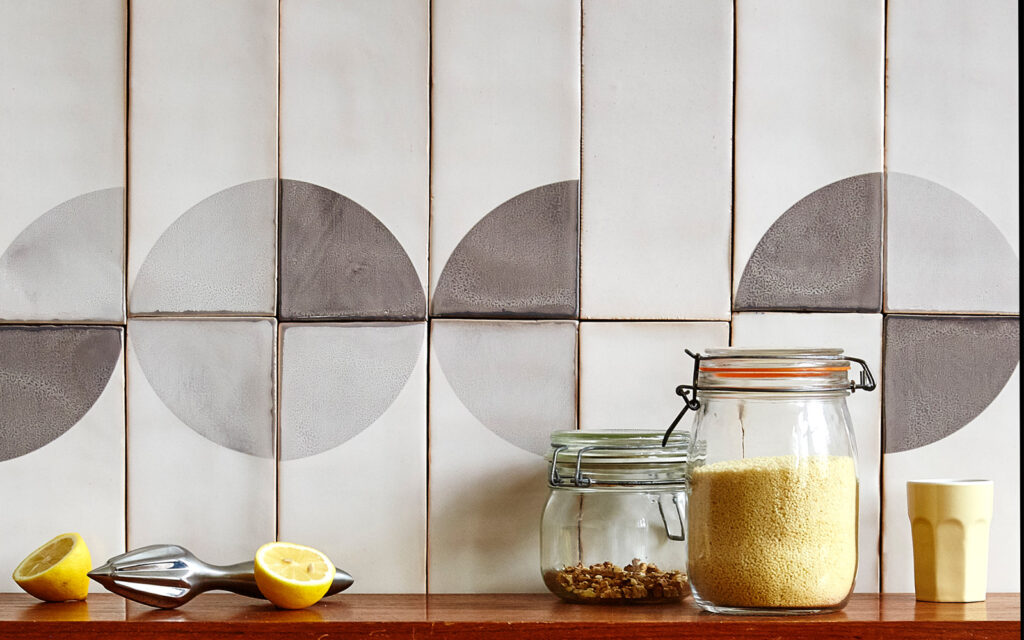
The long format draws the eye along a wall. Lay the tiles horizontally, like a classic subway tile, or vertically to add height to a room. The tiles can be arranged with a half-drop, one-third drop or no drop. We design the layout for every project, so you can see the pattern before anything is made.

Characteristics
Handmade tiles have characteristic differences to mass-produced tiles.
– the surface is less regular and more uneven.
– the sides of the tiles are less perfect and may be a little jagged in places.
– the corners may not be perfect.
Grout combines all these imperfections into one installation which has the look and feel of handmade tiles.

Options
If a more regular looking tile is preferred, we can press the tile before screen-printing. Pressing creates a tile which is still distinctly handmade but is flatter and more regular. An extra charge is applied for tiles that are pressed and screen-printed.
Edge pieces including bullnose can be created for all our tiles

To start, tell us about your space and what inspires you.

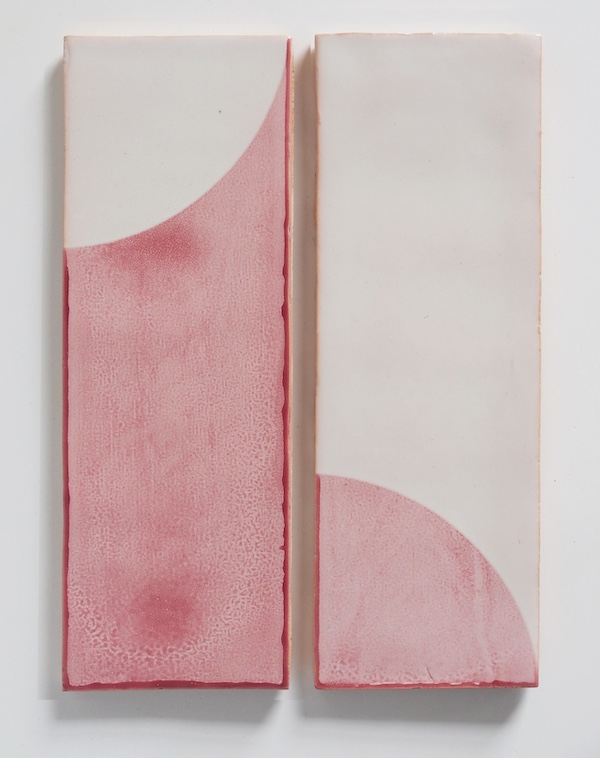
Two 30x10cm / 12x4 inch tiles in screen-printed pink from Smink Studio

Available tiles

Diagram of a plain 10 × 30 cm Smink Studio handmade tile in a single solid glaze colour.
SOLID-R
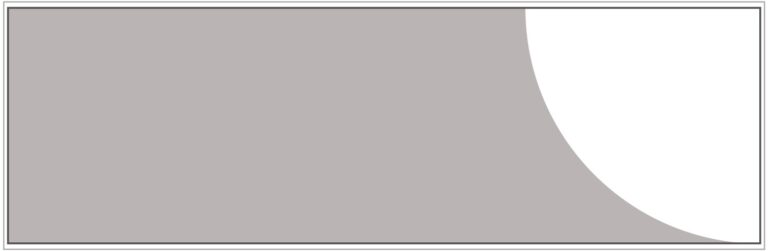
Diagram of Smink Studio 10 × 30 cm screen-printed tile BL1: a grey curve at one end of a white tile.
BL1
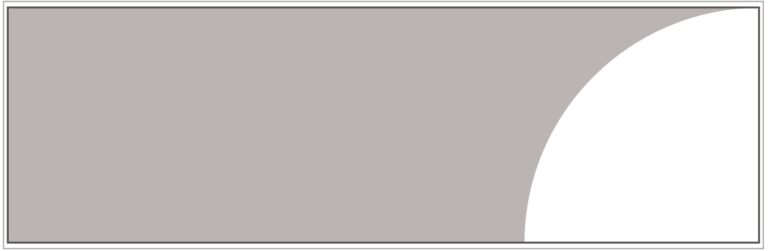
Diagram of Smink Studio 10 × 30 cm screen-printed tile BL2: a white curve at one end of a grey tile.
BL2
Diagram of Smink Studio 10 × 30 cm screen-printed tile BL3: a grey curve at one end of a white tile.
BL3
Diagram of Smink Studio 10 × 30 cm screen-printed tile BL4: a white curve at one end of a grey tile.
BL4
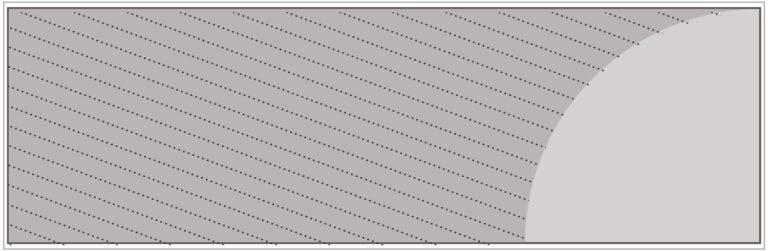
Diagram of Smink Studio 10 × 30 cm screen-printed tile BL5: a hatched tile with a light-grey curve at one end.
BL5
Diagram of Smink Studio 10 × 30 cm screen-printed tile BL6: a hatched tile with a light-grey curve at one end.
BL6
Diagram of Smink Studio 10 × 30 cm screen-printed tile BL7: a white tile with a light-grey curve at one end and a hatched curve inside it.
BL7
Diagram of Smink Studio 10 × 30 cm screen-printed tile BL8: a white tile with a light-grey curve at one end and a hatched curve inside it.
BL8
Diagram of Smink Studio 10 × 30 cm screen-printed tile BL9: a grey tile with a light-grey curve at one end.
BL9
Diagram of Smink Studio 10 × 30 cm screen-printed tile BL10: a grey tile with a light-grey curve at one end.
BL10
Diagram of Smink Studio 10 × 30 cm screen-printed tile BL11: a grey tile with a hatched light-grey curve at one end.
BL11
Diagram of Smink Studio 10 × 30 cm screen-printed tile BL12: a grey tile with a hatched light-grey curve at one end.
BL12
Diagram of Smink Studio 10 × 30 cm screen-printed tile BLL: screen-printed in one colour over its whole surface.
BLL
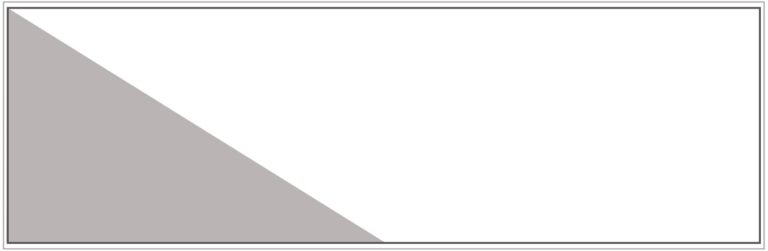
Diagram of Smink Studio 10 × 30 cm screen-printed tile GO1: a grey triangle rising to one end of a white tile.
GO1
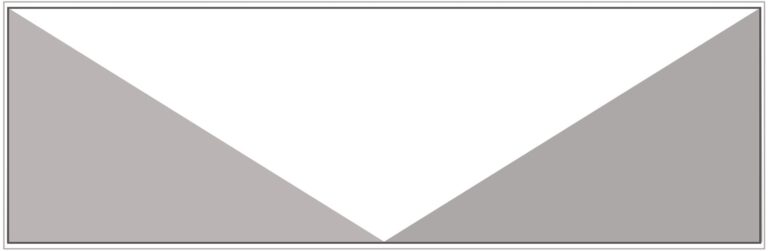
Diagram of Smink Studio 10 × 30 cm screen-printed tile GO2: a white V shape between two grey triangles.
GO2
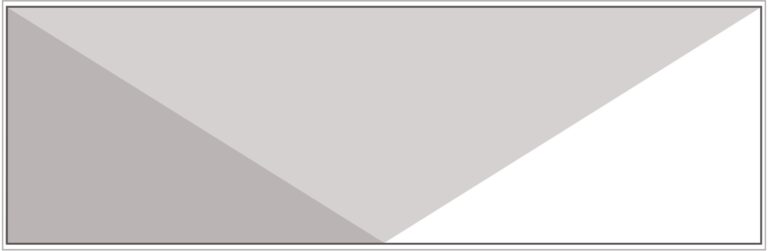
Diagram of Smink Studio 10 × 30 cm screen-printed tile GO3: a light-grey inverted triangle between grey and white areas.
GO3
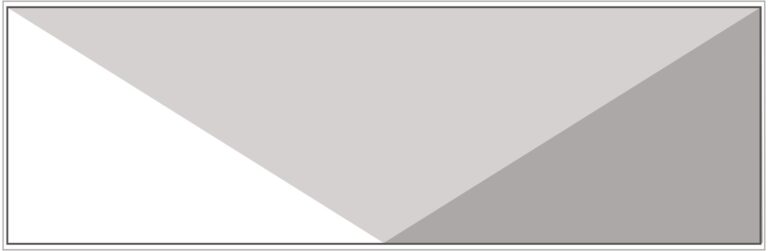
Diagram of Smink Studio 10 × 30 cm screen-printed tile GO4: a light-grey inverted triangle with a grey triangle at one end.
GO4
Diagram of Smink Studio 10 × 30 cm screen-printed tile GO5: a grey triangle at one end of a white tile.
GO5
Diagram of Smink Studio 10 × 30 cm screen-printed tile GO6: a light-grey inverted triangle on a white tile.
GO6

Colours

005
006
007
008
010
100
101
104
105
200
201
203
208
300
301
302
304
307
308
309
310
402
403
405
407
410
500
502
503
505
506
507
508
509

Detail images

Useful information

  1. Format: 30 × 10 cm / 12 × 4 in rectangular wall tile, handmade in Portugal.
  2. Finish: gloss or matt glaze, screen-printed by hand.
  3. Uses: kitchen splashbacks, bathrooms, showers, bar fronts and feature walls.
  4. Durability: frost- and stain-resistant, confirmed by independent laboratory tests.
  5. Made to order: designs and colours chosen for each project.
  6. Installation: standard tile adhesive and grout.
  7. Care: wipe with a damp cloth and a mild cleaner.

Information

What they are
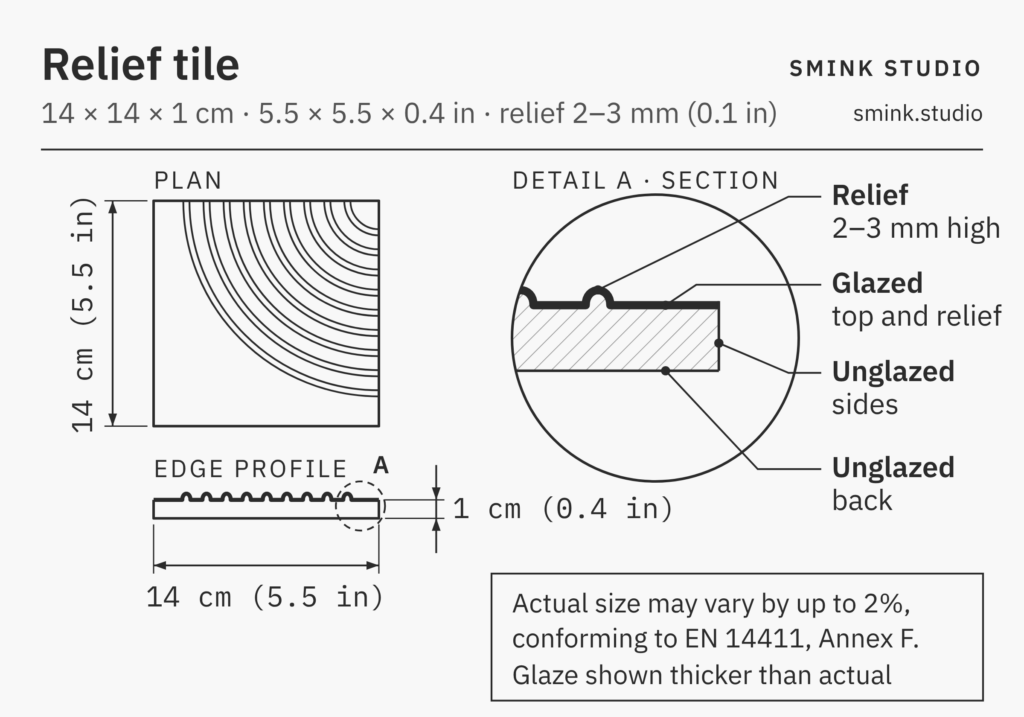
A handmade ceramic tile, about 14 cm square, pressed by hand with a raised pattern and finished in a single glaze. The pattern is not printed: it is formed as a relief in the clay.

Why designers use them
– Light draws the pattern: the glaze pools in the hollows and thins over the raised edges, so the design appears in light and shadow.
– A wall that changes through the day: morning sun, evening lamplight and a downlight each combine with the tiles to create a different kind of wall.
– Works well with grazing light (light positioned close to the vertical surface): light from the side or from above, such as a window or a downlight, bring out the relief most strongly.
– Texture over colour: with one solid glaze per tile, the surface contains the design, so even a pale wall has depth.
– Combines with print: the relief shapes match our screen-printed designs, so the two can share a wall.

Size
Measurements: approx 14 x 14cm / 5.5 x 5.5 inches. As with all handmade tiles, length and width can vary by up to 2%.
Thickness: 1 – 1.3 cm / 3/8 – 1/2 inch when raised 3D shape included.
50 tiles per m2 / 4.65 tiles per sq. ft.

How they are made
Each tile is made by hand, then pressed one at a time in a hand-operated press while the clay is still soft. Once dry, it is fired, glazed and fired again. The glaze pools in the hollows and thins over the raised edges, so the pattern shows itself through light and shadow, and changes as the light moves through the day.

Glazes and designs
There are around 30 core colours on our Relief colour card; other glazes are available on request.
Each tile has one solid glaze.
Minimum 3 m² / 33 sq ft (about 150 tiles) per glaze colour.
Relief tiles cannot be screen-printed, but their shapes match our screen-printed designs, so the two can be combined.
There are fourteen different Relief shapes and a plain pressed tile.

Characteristics
Relief tiles have characteristic differences to mass-produced tiles although they are more regular than our normal tiles because they are pressed. A certain amount of unevenness in the surface and irregularity of the side and corners of the tiles is to be expected. As with unpressed tiles, grout combines all these minor imperfections into one installation which has the look and feel of handmade, hand-pressed tiles.

Uses
Relief tiles suit bathrooms, feature walls, splashbacks and panelling (wainscoting). A row of bullnose tiles finishes the top edge neatly.

To start, tell us about your space and what inspires you.

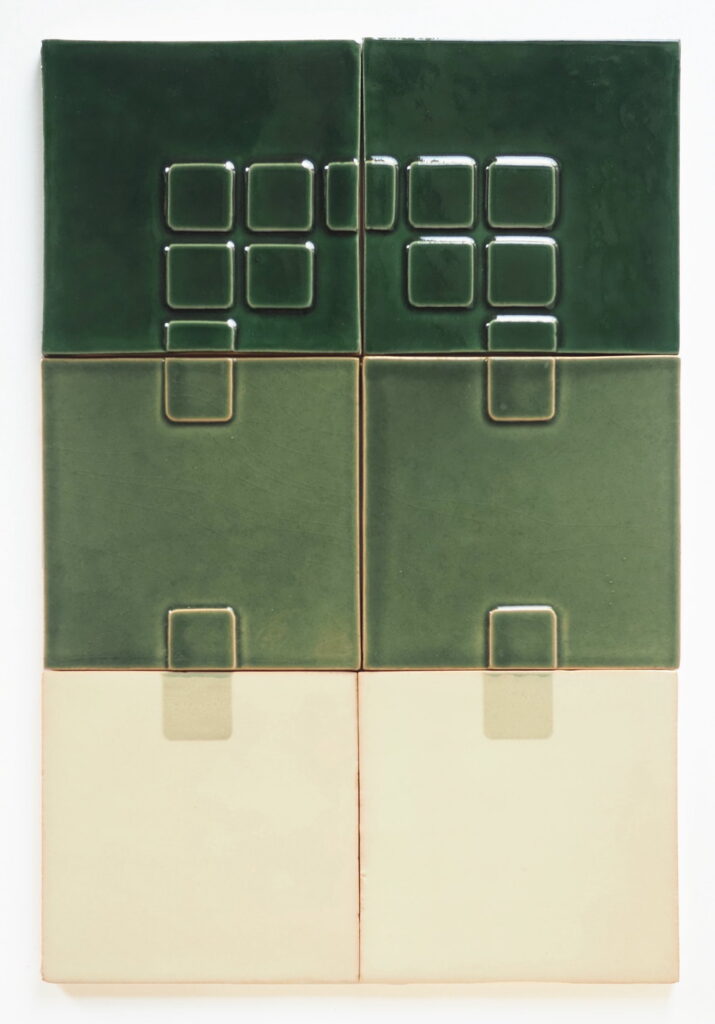
A two by three panel of Smink Studio tiles in dark green and cream, combining raised square Relief motifs with plain glazed tiles, arranged as wall panelling.

Available tiles

Drawing of a plain pressed Smink Studio tile, P00, with no relief pattern.
P00
Drawing of Smink Studio relief tile P01, with a raised V-shaped line across the top.
P01
Drawing of Smink Studio relief tile P02, with a raised angled line running down the tile.
P02
Drawing of Smink Studio relief tile P03, with a raised half-circle line against one edge.
P03
Drawing of Smink Studio relief tile P04, with a raised quarter-circle line in one corner.
P04
Drawing of Smink Studio relief tile P05, with a large raised quarter-circle line.
P05
Drawing of Smink Studio relief tile P06, with fine raised concentric arcs filling the tile.
P06
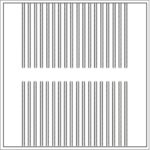
Drawing of Smink Studio relief tile P07, with two bands of fine raised vertical lines.
P07
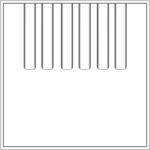
Drawing of Smink Studio relief tile P08, with a row of raised vertical ribs.
P08
Drawing of Smink Studio relief tile P09, with raised concentric arcs from one corner.
P09
Drawing of Smink Studio relief tile P10, with a three-by-three grid of raised rounded squares.
P10
Drawing of Smink Studio relief tile P11, with a sunken half-circle against one edge.
P11
Drawing of Smink Studio relief tile P12, with a grid of raised rounded squares.
P12
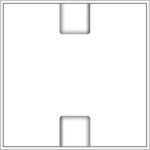
Drawing of Smink Studio relief tile P13, with two raised rounded rectangles at top and bottom edges.
P13
Drawing of Smink Studio relief tile P14, with a three-by-three grid of raised rectangular frames.
P14

Colours

S010
S001
B011
B010
B150
B092
B053
B054
B057
C067
B039
B075
B083
B088
B089
B700
B002
PM06
M890
B044
M998
B043
M825
B042
M855
B029
M835
B028
M815

Detail images

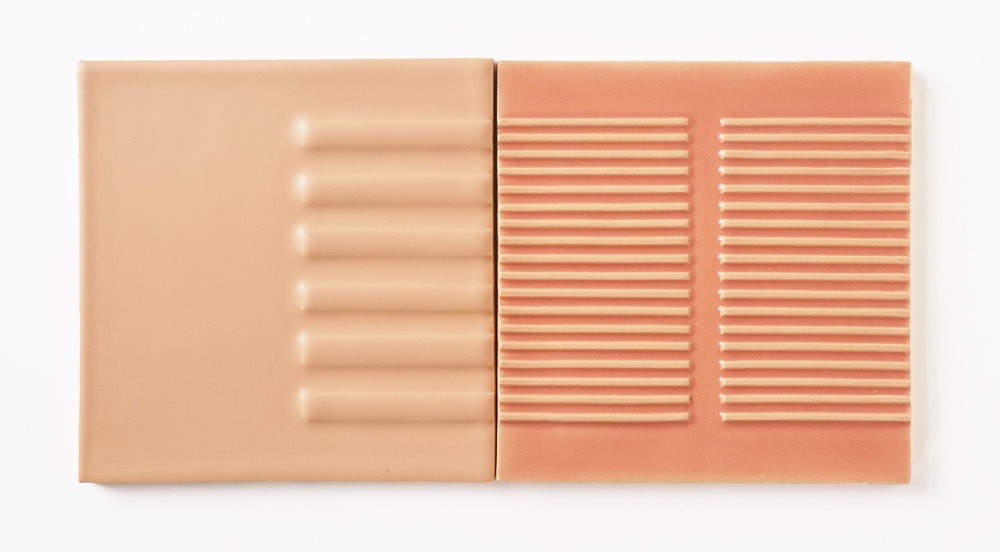
Two blush pink Smink Studio Relief tiles side by side, one with wide vertical flutes and one with fine horizontal ribs.

Useful information

  1. Format: 14 × 14 cm / 5.5 × 5.5 in, pressed by hand.
  2. Finish: one solid glaze per tile, gloss or matt.
  3. Uses: panelling, splashbacks, bathrooms and feature walls.
  4. Combining: relief shapes match our screen-printed designs.
  5. Durability: frost- and stain-resistant, confirmed by independent laboratory tests.
  6. Installation: standard adhesive and grout; the grout colour changes how strongly the relief reads.
  7. Care: wipe with a damp cloth and a mild cleaner.

Information

What they are
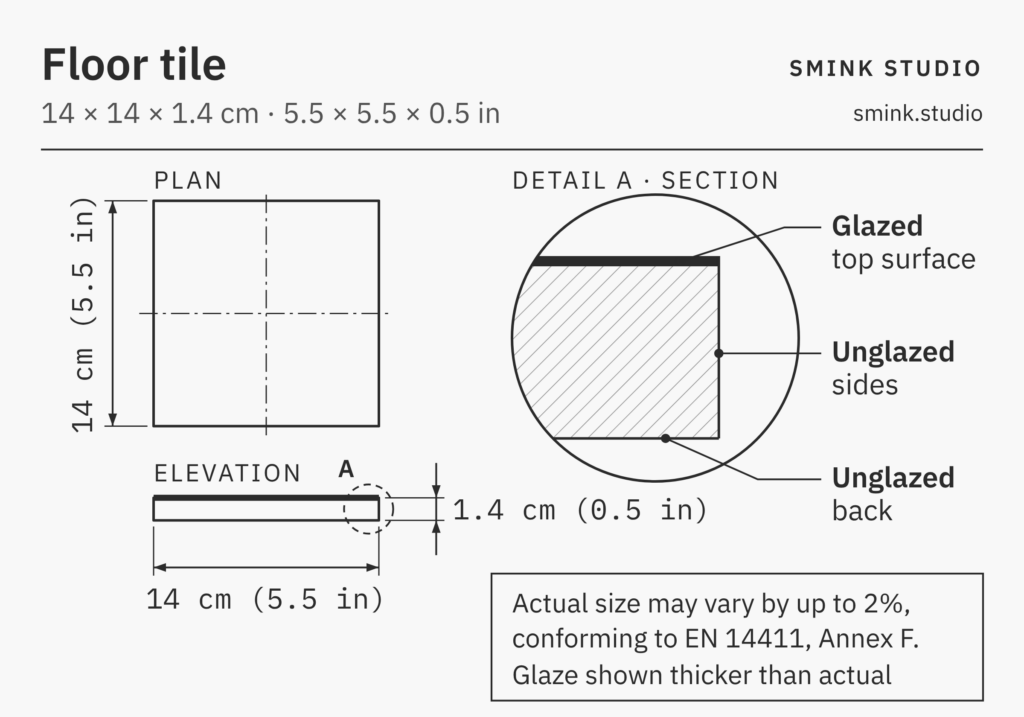
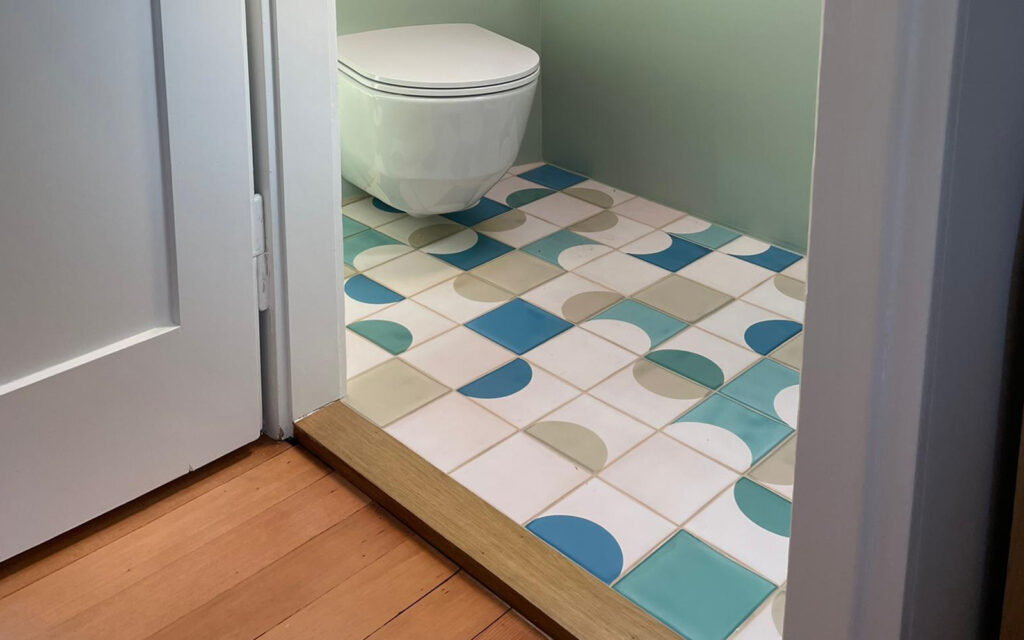
A handmade ceramic floor tile, about 14 cm square and 1.4 cm thick. Each is pressed flat, then screen-printed by hand with our designs in any of our colours, so our patterns can run underfoot as well as on the wall.

Why designers use them
– Any colour: choose from 32 core colours.
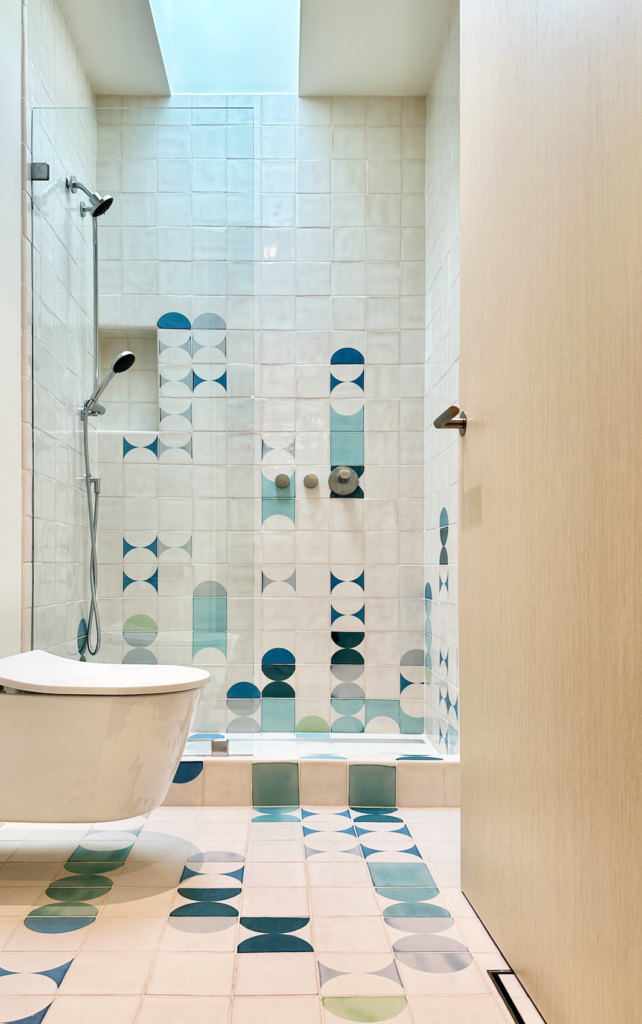
– Wall to floor: the same designs and colours as our wall tiles, so one scheme can continue on from the walls to the floor.
– Any pattern: mix designs and colours across a floor, from a border or rug-like panel to an all-over pattern.
– Made for floors: a thicker body and a pressed, flatter surface for an even floor underfoot.
– Matt or gloss: matt is recommended for floors; gloss is available too.
– A layout drawn for you: we design every floor by hand, so you see the pattern before anything is made.

Size
About 14 × 14 cm / 5.5 × 5.5 inches.
Thickness: 1.4 cm / ½ inch. This is thicker than our wall tiles, for strength underfoot.
Each floor tile is pressed before printing, which makes it flatter and more regular while still clearly handmade.

Glaze
We recommend a matt glaze for floors: white PWMM or cream PM6M. Gloss (PPWM or PPM6) is also available.
Minimum 3 m² / 33 sq ft (about 150 tiles) per base glaze.

Screen-printed colours and designs
A core collection of 32 colours is available and these work with matt glazes as well as gloss. New colours can be commissioned.
Colours are screen-printed by hand with a liquid pigment. They have a more opaque and less watercolour look than on gloss tiles.
A variety of screen-printed colours and designs can be included within a single tile installation.
Tiles can be single screen-printed or double screen-printed. Where two screen-prints overlap, we make a best guess at the resulting colour. With matt glazes, the colours tend to show through each other less.

Characteristics
Pressed floor tiles have characteristic differences to mass-produced tiles although they are more regular than our normal, unpressed tiles. A certain amount of unevenness in the surface and irregularity of the side and corners of the tiles is to be expected though much less than with unpressed tiles. Grout combines any minor imperfections into one installation which has the look and feel of handmade, hand pressed tiles.

Where to use them
These tiles suit interior floors in dry areas, such as hallways, living rooms and kitchens. Like all glazed ceramics, they have low slip resistance when wet. Check the slip rating before using them in wet or barefoot areas, such as bathrooms or pool surrounds, and ask us if your project needs a specific rating.

To start, tell us about your floor and what inspires you.

Available tiles

Diagram of Smink Studio screen-printed tile L01: fine grey concentric arcs on a white tile.
L01
Diagram of Smink Studio screen-printed tile L04: broad grey concentric arcs on a white tile.
L04
Diagram of Smink Studio screen-printed tile L11: fine white concentric arcs on a grey tile.
L11
Diagram of Smink Studio screen-printed tile L14: broad white concentric arcs on a grey tile.
L14
Diagram of Smink Studio screen-printed tile L21: fine grey concentric arcs on a light-grey tile.
L21
Diagram of Smink Studio screen-printed tile L24: broad grey concentric arcs on a light-grey tile.
L24
Diagram of Smink Studio screen-printed tile L05: a three-by-three grid of grey rounded squares on white.
L05
Diagram of Smink Studio screen-printed tile L08: one grey rounded rectangle at the top edge of a white tile.
L08
Diagram of Smink Studio screen-printed tile L09: a column of grey rounded squares on a white tile.
L09
Diagram of Smink Studio screen-printed tile L16: a cluster of white rounded squares on a grey tile.
L16
Diagram of Smink Studio screen-printed tile L18: a single white rounded rectangle at the top edge of a grey tile.
L18
Diagram of Smink Studio screen-printed tile L19: a column of white rounded squares on a grey tile.
L19
Diagram of Smink Studio screen-printed tile SR1: a large grey quarter-circle on a white tile.
SR1
Diagram of Smink Studio screen-printed tile SR2: a striped quarter-ring on a grey tile.
SR2
Diagram of Smink Studio screen-printed tile SR3: a grey tile with a hatched quarter-ring and a small white square in one corner.
SR3
Diagram of Smink Studio screen-printed tile SR4: a grey tile with a hatched quarter-ring and a small light-grey square in one corner.
SR4
Diagram of Smink Studio screen-printed tile SR5: a white tile with a light-grey quarter-circle and a hatched square in the corner.
SR5
Diagram of Smink Studio screen-printed tile SR6: a light-grey tile with a hatched quarter-circle.
SR6
Diagram of a plain Smink Studio handmade tile in a single solid glaze colour.
SOLID
Diagram of Smink Studio screen-printed tile R1: a tile split diagonally into white and grey triangles.
R1
Diagram of Smink Studio screen-printed tile R2: a tile split diagonally into grey and white triangles, the grey at the left.
R2
Diagram of Smink Studio screen-printed tile R3: a white tile with a grey triangle in one corner.
R3
Diagram of Smink Studio screen-printed tile R4: a tile divided diagonally into grey and white triangles.
R4
Diagram of Smink Studio screen-printed tile R5: a tile divided diagonally into light-grey and grey areas.
R5
Diagram of Smink Studio screen-printed tile R6: a tile divided diagonally into grey and light-grey areas.
R6
Diagram of Smink Studio screen-printed tile R7: a light-grey tile with a hatched diagonal triangle.
R7
Diagram of Smink Studio screen-printed tile R8: a light-grey tile with a hatched triangle at one side.
R8
Diagram of Smink Studio screen-printed tile R9: two overlapping light-grey triangles forming an X pattern.
R9
Diagram of Smink Studio screen-printed tile S1: a white tile with a small grey square in one corner.
S1
Diagram of Smink Studio screen-printed tile S2: a grey tile with a small white square in one corner.
S2
Diagram of Smink Studio screen-printed tile S3: a grey tile with a small light-grey square in one corner.
S3
Diagram of Smink Studio tile ALL: screen-printed in one colour over its whole surface.
ALL
Diagram of Smink Studio tile ALL2: printed twice over its whole surface, shown as hatched grey.
ALL2
Diagram of Smink Studio Quarter Circle tile QC1: a white quarter-circle in the corner of a grey tile.
QC1
Diagram of Smink Studio Quarter Circle tile QC2: a pale quarter-circle on a striped grey tile.
QC2
Diagram of Smink Studio Quarter Circle tile QC3: a grey quarter-circle in the corner of a white tile.
QC3
Diagram of Smink Studio Quarter Circle tile QC4: a light-grey quarter-circle in the corner of a grey tile.
QC4
Diagram of Smink Studio Eclipse tile E4: a white half-circle against one edge of a grey tile.
E4
Diagram of Smink Studio Eclipse tile E5: a grey half-circle against one edge of a white tile.
E5
Diagram of Smink Studio Eclipse tile E6: two white half-circles meeting on a grey tile.
E6
Diagram of Smink Studio Eclipse tile E7: two grey half-circles meeting in the middle of a white tile.
E7
Diagram of Smink Studio Eclipse tile E8: a large grey circle on a white tile.
E8
Diagram of Smink Studio Eclipse tile E9: a large white circle on a grey tile.
E9
Diagram of Smink Studio Eclipse tile E10: a white tile with a light-grey band and a hatched half-circle at one edge.
E10
Diagram of Smink Studio Eclipse tile E11: a grey half-circle at one edge crossing a light-grey band, hatched where they overlap.
E11
Diagram of Smink Studio Eclipse tile E12: a light-grey band, a white centre and a grey half-circle at one edge.
E12
Diagram of Smink Studio Eclipse tile E13: a grey half-circle against one edge of a light-grey tile.
E13
Diagram of Smink Studio Eclipse tile E14: two grey half-circles meeting on a light-grey tile.
E14
Diagram of Smink Studio Eclipse tile E15: light-grey and grey half-circles at opposite edges of a white tile.
E15
Diagram of Smink Studio Eclipse tile E16: a large grey circle on a light-grey tile.
E16
Diagram of Smink Studio Eclipse tile E17: a large hatched circle on a light-grey tile.
E17
Diagram of Smink Studio Eclipse tile E18: a hatched half-circle against one edge of a light-grey tile.
E18
Diagram of Smink Studio Eclipse tile E19: a grey half-circle on a hatched light-grey tile.
E19
Diagram of Smink Studio Eclipse tile E20: two hatched half-circles meeting on a light-grey tile.
E20
Diagram of Smink Studio Eclipse tile E21: two grey half-circles meeting on a hatched light-grey tile.
E21
Diagram of Smink Studio screen-printed tile AL1: a grey V-shaped triangle across the top of a white tile.
AL1
Diagram of Smink Studio screen-printed tile AL2: grey and white areas divided by an angled line.
AL2
Diagram of Smink Studio screen-printed tile AL3: a Y-shaped division in three tones of grey.
AL3
Diagram of Smink Studio screen-printed tile AL4: a tile divided vertically into white and grey halves.
AL4
Diagram of Smink Studio screen-printed tile AL5: grey and white angled shapes with a light-grey triangle and hatched overlap at the bottom.
AL5
Diagram of Smink Studio screen-printed tile AL6: a white X shape between grey and light-grey triangles.
AL6
Diagram of Smink Studio screen-printed tile AL7: a white tile with a grey V across the top and a light-grey triangle at one side.
AL7
Diagram of Smink Studio screen-printed tile AL8: a white tile with a light-grey Y shape and a hatched triangle at the top.
AL8
Diagram of Smink Studio screen-printed tile AL9: a grey tile with a hatched V-shaped triangle across the top.
AL9
Diagram of Smink Studio screen-printed tile AL10: a hatched light-grey tile with a grey angled shape at one side.
AL10
Diagram of Smink Studio screen-printed tile AL11: a tile divided vertically into hatched light-grey and grey parts.
AL11

Colours

005
006
007
008
010
100
101
104
105
200
201
203
208
300
301
302
304
307
308
309
310
402
403
405
407
410
500
502
503
505
506
507
508
509

Detail images

Useful information

  1. Format: 14 × 14 cm / 5.5 × 5.5 in, 1.4 cm / ½ in thick, pressed for a flatter surface.
  2. Finish: matt recommended for floors; gloss available.
  3. Uses: interior floors in dry areas; check the slip rating for wet or barefoot areas.
  4. Underfloor heating: suitable, with a flexible adhesive rated for heated floors.
  5. Durability: frost- and stain-resistant, confirmed by independent laboratory tests.
  6. Made to order: designs and colours chosen for each project.
  7. Care: sweep, then wipe with a damp mop and a pH-neutral cleaner.

Information

What they are
Handmade ceramic tiles with curved outlines rather than square ones, each about 14 cm across and finished in a single glaze. Laid together, they break up the grid of a conventional tiled wall.

Why designers use them
– Beyond the grid: curved outlines give a wall a rhythm that square tiles cannot.
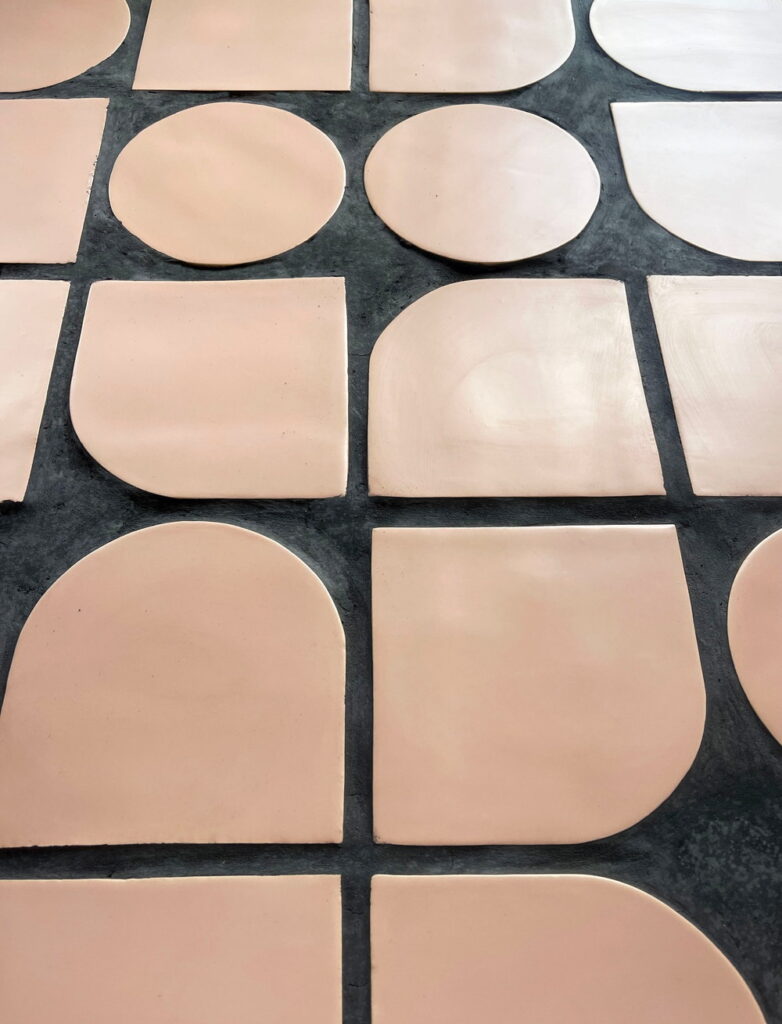
– Shadow at the joints: laid with open joints, each tile casts its own shadow, giving a tactile, three-dimensional surface.
– Two looks from one tile: open joints for depth, filled joints for a calmer, flatter wall.
– Mix and repeat: combine the three shapes, and their colours, in a layout drawn for your space.
– Colour from the Relief range: around 30 solid glazes, with others on request.

Size
Measurements: approx 14 x 14cm / 5.5 x 5.5 inches on the longest sides. As with all handmade tiles, length and width can vary by up to 2%.
Thickness: 1 cm / 3/8 inch.
50 tiles per m2 / 4.65 tiles per sq. ft.

Shapes
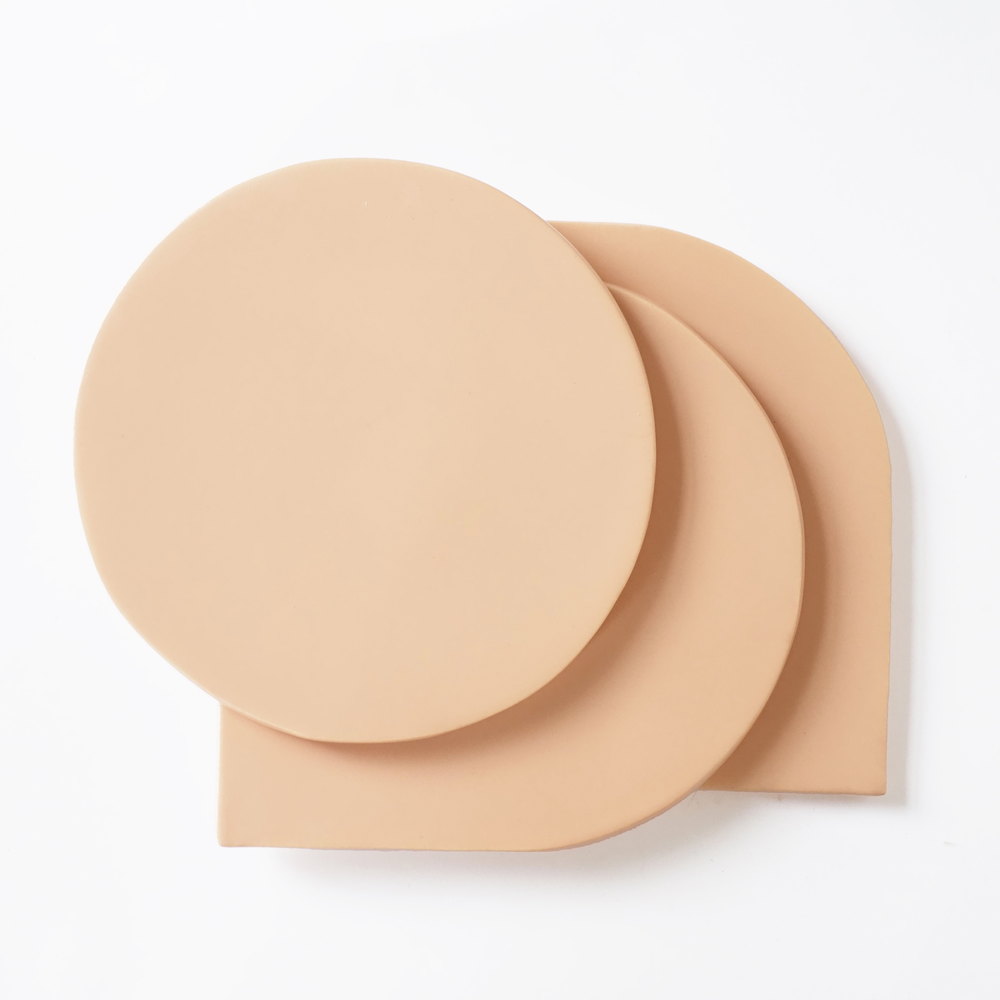
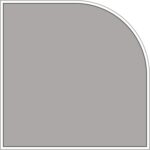
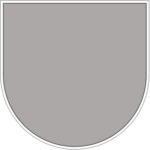
Three outlines: SH1, a square with one rounded corner; SH2, a square top with a semicircular base; SH3, a circle.

Glazes and designs
There are around 30 core colours on our Relief colour card (Relief glazes apply to Shape tiles); other glazes are available on request.
Each tile has one solid glaze.
Minimum 3 m² / 33 sq ft (about 150 tiles) per glaze colour.

Laying
Laid with open joints, the shapes stand out and give a tactile, three-dimensional wall. Filled, they appear as a flatter surface. Shape tiles suit feature walls, alcoves, stair walls and other spaces where a regular grid would feel too rigid. The spaces between the tiles are too wide for traditional grout but can be filled with a natural product such as lime mortar.

Characteristics
Shape tiles have characteristic differences to mass-produced tiles although they are more regular than our normal tiles because they are pressed. A small amount of unevenness in the surface is to be expected.

To start, tell us about your space and what inspires you.

Two blush pink Smink Studio shape tiles overlapping on a white ground, a full circle resting on a square with one rounded corner.

Available tiles

Drawing of Smink Studio shape tile SH1: a square tile with one rounded corner.
SH1
Drawing of Smink Studio shape tile SH2: a tile with a square top and a semicircular bottom.
SH2
Drawing of Smink Studio shape tile SH3: a round tile.
SH3

Colours

S010
S001
B011
B010
B150
B092
B053
B054
B057
C067
B039
B075
B083
B088
B089
B700
B002
PM06
M890
B044
M998
B043
M825
B042
M855
B029
M835
B028
M815

Detail images

Smink Studio shape tiles in blush pink, including circles, ovals and arches, set in dark charcoal grout to test the contrast between tile and joint.

Useful information

  1. Format: three shapes, SH1, SH2 and SH3, handmade in Portugal.
  2. Finish: one solid glaze per tile.
  3. Uses: feature walls, alcoves and stair walls.
  4. Laying: open joints for depth, or filled for a flatter look.
  5. Made to order: shapes and colours combined for each project.
  6. Care: wipe with a damp cloth and a mild cleaner.

Information

What they are
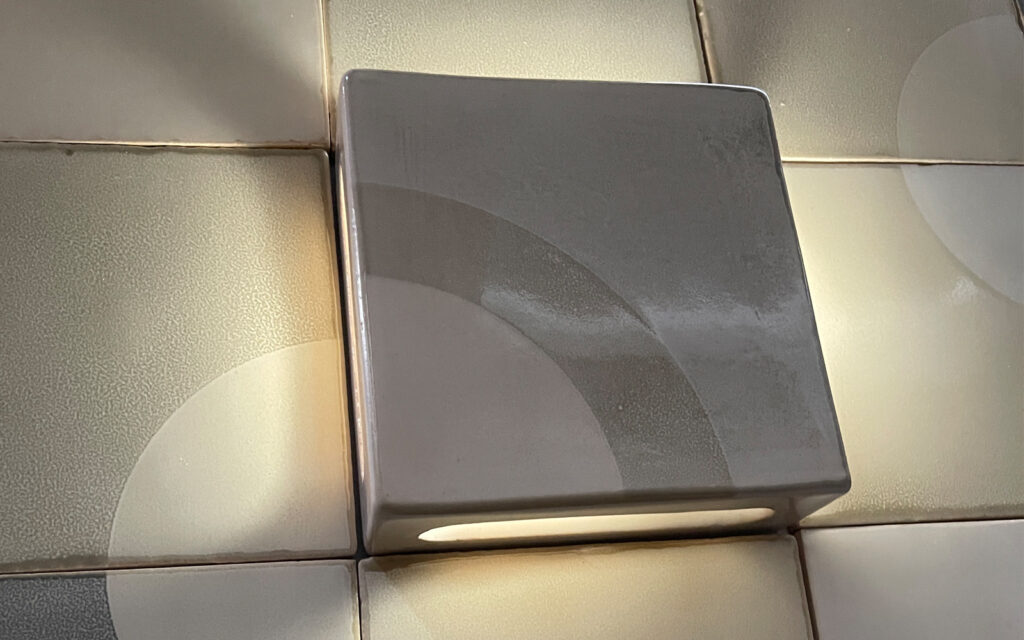
Our tiles look their best in daylight. Pocket tiles let them shine at night, too.
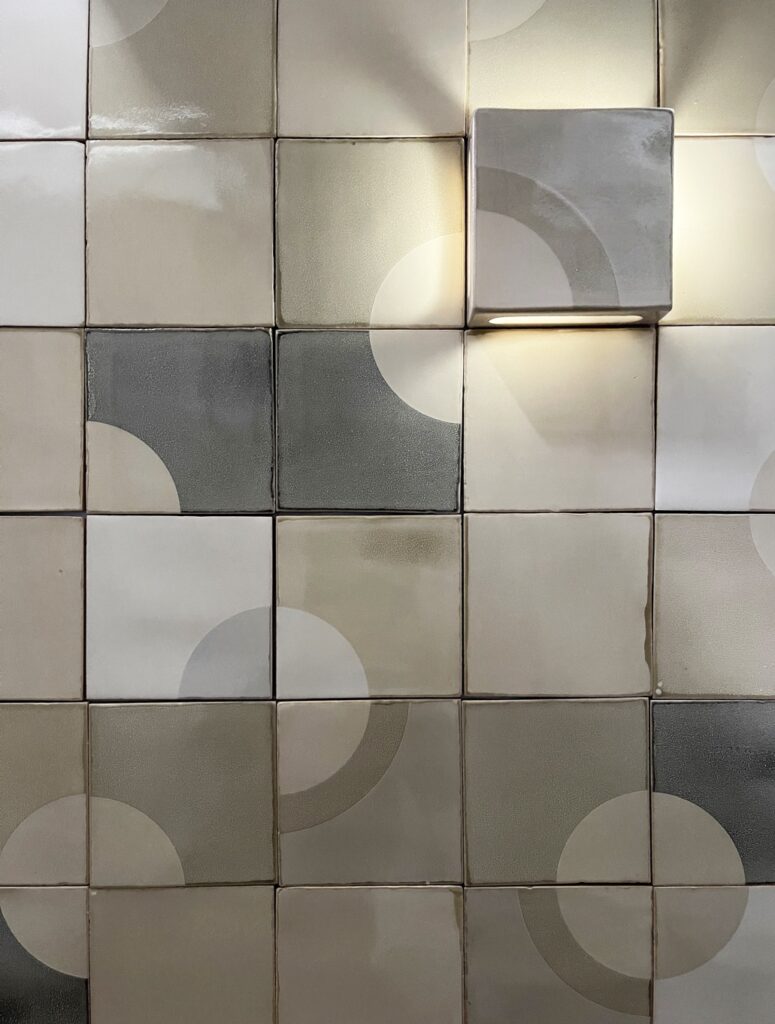
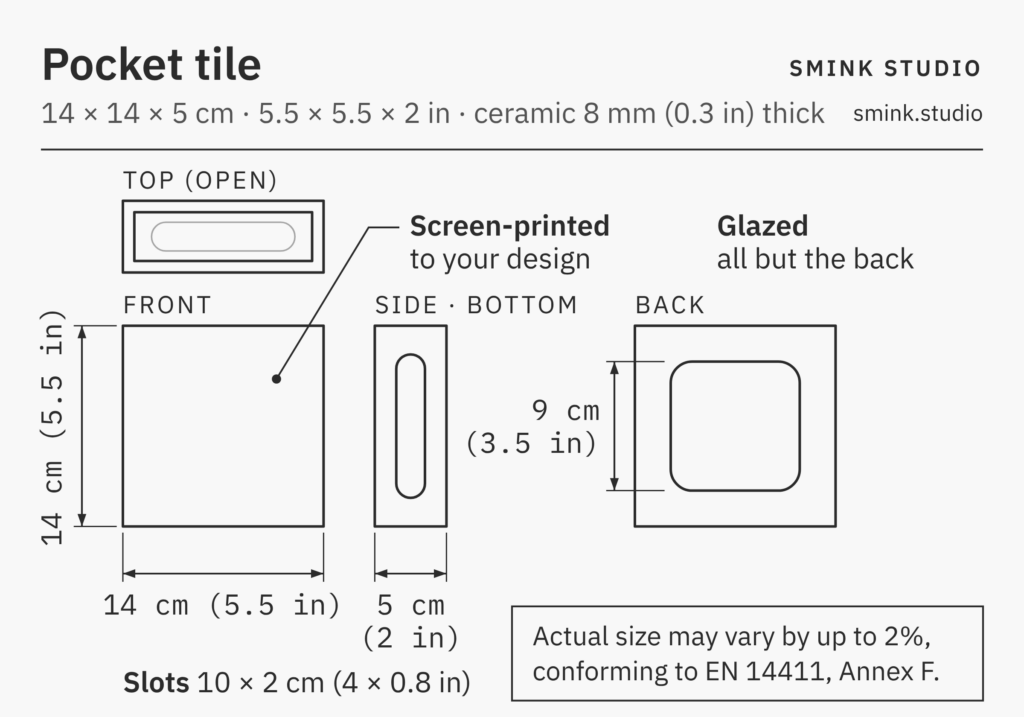
A pocket tile is a shallow ceramic box, 14 cm square and 5 cm deep, that fits over a small wall light. Its front is screen-printed by hand to match the tiles around it, so by day it reads as part of the pattern. In the evening, light spills from its open top and through slots in its sides and bottom, casting soft halos across the wall.

Why designers use them
– Lighting becomes part of the wall: no visible fixture, and no trade-off between the tile layout and where the lights go.
– The pattern carries on: the screen print runs unbroken across flat and pocket tiles.
– Depth and shadow: each pocket stands 5 cm proud of the wall, adding relief by day and glow by night.
– Light where you want it: pocket tiles can go anywhere in the tile field.
– Fewer materials: the ceramic itself is the lampshade, with no metal or glass fixtures.
– Bespoke at scale: repeatable custom lighting for hotels, restaurants and large homes, without the cost of bespoke fixtures.

Size
Measurements: 14 × 14 cm / 5.5 × 5.5 inches; 5 cm / 2 inches deep. As with all handmade tiles, length and width can vary by up to 2%.
Ceramic: 8 mm / 0.3 inch thick.
Openings: open top; a 10 × 2 cm / 4 × 0.8 inch slot in each side and in the bottom; a 9 × 9 cm / 3.5 × 3.5 inch opening in the back, which fits over the light fitting.

Glaze and colours
Glazed on the front, sides and inside; the back is left unglazed so the adhesive bonds.
Base glaze: white or cream, as for our screen-printed tiles.
Screen-printed by hand in any of our 30-plus colours, which merge with the glaze during firing.

Bulbs and fittings
Fits over a wall light fitting with a small screw-base bulb, about 5 cm / 2 inches long and less than 3.75 cm / 1.5 inches in diameter.
Suitable bulbs include T25, E14 pygmy and E12/T8 tubular bulbs. Choose LED versions: they run cool and use little power.
The light fitting is not included; your electrician can supply one for a few euros or dollars.

Installation
We mark the position of each pocket tile in your custom layout. A qualified electrician installs a light fitting at each position. The pocket tile is fixed over the fitting with tile adhesive and grouted to the tiles around it.

Ordering
Pocket tiles are available as an addition to an order of Smink Studio handmade tiles. Like all our tiles, they are made to order.

Pocket tiles suit feature walls in homes, hotels, restaurants and bars. We first designed them for our tile wall at Personal Structures, an exhibition held alongside the 2026 Venice Biennale. To begin, just tell us what inspires you and we’ll design a layout for you by hand.

Available designs

Diagram of Smink Studio screen-printed tile L01: fine grey concentric arcs on a white tile.
L01
Diagram of Smink Studio screen-printed tile L04: broad grey concentric arcs on a white tile.
L04
Diagram of Smink Studio screen-printed tile L11: fine white concentric arcs on a grey tile.
L11
Diagram of Smink Studio screen-printed tile L14: broad white concentric arcs on a grey tile.
L14
Diagram of Smink Studio screen-printed tile L21: fine grey concentric arcs on a light-grey tile.
L21
Diagram of Smink Studio screen-printed tile L24: broad grey concentric arcs on a light-grey tile.
L24
Diagram of Smink Studio screen-printed tile L05: a three-by-three grid of grey rounded squares on white.
L05
Diagram of Smink Studio screen-printed tile L08: one grey rounded rectangle at the top edge of a white tile.
L08
Diagram of Smink Studio screen-printed tile L09: a column of grey rounded squares on a white tile.
L09
Diagram of Smink Studio screen-printed tile L16: a cluster of white rounded squares on a grey tile.
L16
Diagram of Smink Studio screen-printed tile L18: a single white rounded rectangle at the top edge of a grey tile.
L18
Diagram of Smink Studio screen-printed tile L19: a column of white rounded squares on a grey tile.
L19
Diagram of Smink Studio screen-printed tile SR1: a large grey quarter-circle on a white tile.
SR1
Diagram of Smink Studio screen-printed tile SR2: a striped quarter-ring on a grey tile.
SR2
Diagram of Smink Studio screen-printed tile SR3: a grey tile with a hatched quarter-ring and a small white square in one corner.
SR3
Diagram of Smink Studio screen-printed tile SR4: a grey tile with a hatched quarter-ring and a small light-grey square in one corner.
SR4
Diagram of Smink Studio screen-printed tile SR5: a white tile with a light-grey quarter-circle and a hatched square in the corner.
SR5
Diagram of Smink Studio screen-printed tile SR6: a light-grey tile with a hatched quarter-circle.
SR6
Diagram of a plain Smink Studio handmade tile in a single solid glaze colour.
SOLID
Diagram of Smink Studio screen-printed tile R1: a tile split diagonally into white and grey triangles.
R1
Diagram of Smink Studio screen-printed tile R2: a tile split diagonally into grey and white triangles, the grey at the left.
R2
Diagram of Smink Studio screen-printed tile R3: a white tile with a grey triangle in one corner.
R3
Diagram of Smink Studio screen-printed tile R4: a tile divided diagonally into grey and white triangles.
R4
Diagram of Smink Studio screen-printed tile R5: a tile divided diagonally into light-grey and grey areas.
R5
Diagram of Smink Studio screen-printed tile R6: a tile divided diagonally into grey and light-grey areas.
R6
Diagram of Smink Studio screen-printed tile R7: a light-grey tile with a hatched diagonal triangle.
R7
Diagram of Smink Studio screen-printed tile R8: a light-grey tile with a hatched triangle at one side.
R8
Diagram of Smink Studio screen-printed tile R9: two overlapping light-grey triangles forming an X pattern.
R9
Diagram of Smink Studio screen-printed tile S1: a white tile with a small grey square in one corner.
S1
Diagram of Smink Studio screen-printed tile S2: a grey tile with a small white square in one corner.
S2
Diagram of Smink Studio screen-printed tile S3: a grey tile with a small light-grey square in one corner.
S3
Diagram of Smink Studio tile ALL: screen-printed in one colour over its whole surface.
ALL
Diagram of Smink Studio tile ALL2: printed twice over its whole surface, shown as hatched grey.
ALL2
Diagram of Smink Studio Quarter Circle tile QC1: a white quarter-circle in the corner of a grey tile.
QC1
Diagram of Smink Studio Quarter Circle tile QC2: a pale quarter-circle on a striped grey tile.
QC2
Diagram of Smink Studio Quarter Circle tile QC3: a grey quarter-circle in the corner of a white tile.
QC3
Diagram of Smink Studio Quarter Circle tile QC4: a light-grey quarter-circle in the corner of a grey tile.
QC4
Diagram of Smink Studio Eclipse tile E4: a white half-circle against one edge of a grey tile.
E4
Diagram of Smink Studio Eclipse tile E5: a grey half-circle against one edge of a white tile.
E5
Diagram of Smink Studio Eclipse tile E6: two white half-circles meeting on a grey tile.
E6
Diagram of Smink Studio Eclipse tile E7: two grey half-circles meeting in the middle of a white tile.
E7
Diagram of Smink Studio Eclipse tile E8: a large grey circle on a white tile.
E8
Diagram of Smink Studio Eclipse tile E9: a large white circle on a grey tile.
E9
Diagram of Smink Studio Eclipse tile E10: a white tile with a light-grey band and a hatched half-circle at one edge.
E10
Diagram of Smink Studio Eclipse tile E11: a grey half-circle at one edge crossing a light-grey band, hatched where they overlap.
E11
Diagram of Smink Studio Eclipse tile E12: a light-grey band, a white centre and a grey half-circle at one edge.
E12
Diagram of Smink Studio Eclipse tile E13: a grey half-circle against one edge of a light-grey tile.
E13
Diagram of Smink Studio Eclipse tile E14: two grey half-circles meeting on a light-grey tile.
E14
Diagram of Smink Studio Eclipse tile E15: light-grey and grey half-circles at opposite edges of a white tile.
E15
Diagram of Smink Studio Eclipse tile E16: a large grey circle on a light-grey tile.
E16
Diagram of Smink Studio Eclipse tile E17: a large hatched circle on a light-grey tile.
E17
Diagram of Smink Studio Eclipse tile E18: a hatched half-circle against one edge of a light-grey tile.
E18
Diagram of Smink Studio Eclipse tile E19: a grey half-circle on a hatched light-grey tile.
E19
Diagram of Smink Studio Eclipse tile E20: two hatched half-circles meeting on a light-grey tile.
E20
Diagram of Smink Studio Eclipse tile E21: two grey half-circles meeting on a hatched light-grey tile.
E21
Diagram of Smink Studio screen-printed tile AL1: a grey V-shaped triangle across the top of a white tile.
AL1
Diagram of Smink Studio screen-printed tile AL2: grey and white areas divided by an angled line.
AL2
Diagram of Smink Studio screen-printed tile AL3: a Y-shaped division in three tones of grey.
AL3
Diagram of Smink Studio screen-printed tile AL4: a tile divided vertically into white and grey halves.
AL4
Diagram of Smink Studio screen-printed tile AL5: grey and white angled shapes with a light-grey triangle and hatched overlap at the bottom.
AL5
Diagram of Smink Studio screen-printed tile AL6: a white X shape between grey and light-grey triangles.
AL6
Diagram of Smink Studio screen-printed tile AL7: a white tile with a grey V across the top and a light-grey triangle at one side.
AL7
Diagram of Smink Studio screen-printed tile AL8: a white tile with a light-grey Y shape and a hatched triangle at the top.
AL8
Diagram of Smink Studio screen-printed tile AL9: a grey tile with a hatched V-shaped triangle across the top.
AL9
Diagram of Smink Studio screen-printed tile AL10: a hatched light-grey tile with a grey angled shape at one side.
AL10
Diagram of Smink Studio screen-printed tile AL11: a tile divided vertically into hatched light-grey and grey parts.
AL11

Colours

005
006
007
008
010
100
101
104
105
200
201
203
208
300
301
302
304
307
308
309
310
402
403
405
407
410
500
502
503
505
506
507
508
509

Detail images

Useful information

  1. What it is: a handmade ceramic pocket that covers a small wall light.
  2. Size: 14 × 14 × 5 cm / 5.5 × 5.5 × 2 inches; ceramic 8 mm / 0.3 inch thick.
  3. Light: shines from the open top and through slots in the sides and bottom.
  4. Bulb: a small screw-base LED, such as a T25, E14 pygmy or E12/T8 tubular bulb.
  5. Finish: screen-printed by hand to match the surrounding tiles; glazed on every face except the back.
  6. Installation: positions set in your layout; wiring by a qualified electrician; fixed with tile adhesive and grouted.

  7. Uses: feature and accent walls in homes, hotels, restaurants and bars.

  8. Made to order: as part of a Smink Studio tile installation.

A question? A project? Advice?

We answer within 1 working day.